Is there anything more dreamy than a bakery-style cheesecake waiting in your own fridge? You know the kind—silky smooth, perfectly sweet, and swirled with a gorgeous ribbon of fruit. My quest to recreate that elegant dessert without the fuss led me straight to this Strawberry Swirl Cheesecake. It’s a showstopper that’s surprisingly forgiving. Trust me, if I can pull it off after my infamous ‘burnt pan’ phase, you’ve got this.
Why You’ll Love This
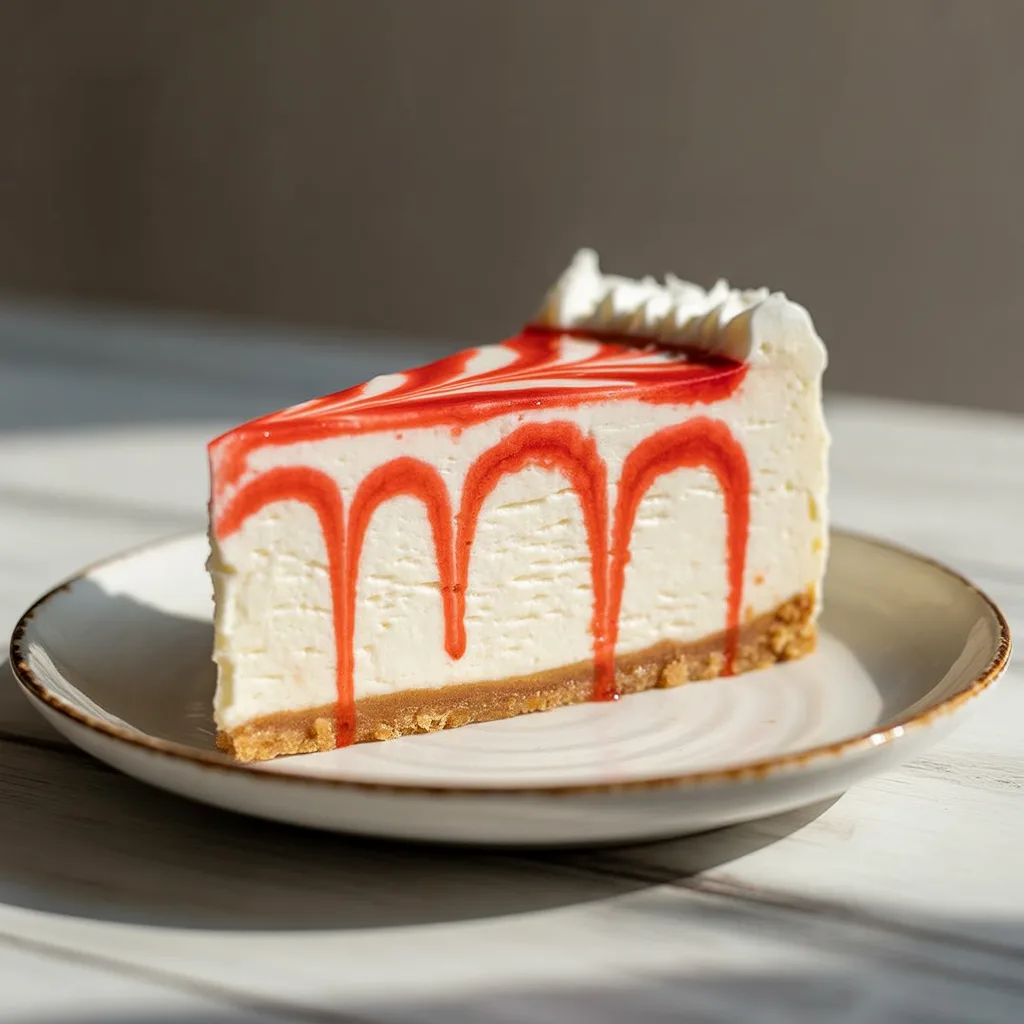
First off, it’s just so, so pretty. That ruby red swirl against the creamy white filling is pure dessert magic. But beyond the looks, this cheesecake is all about texture. We’re talking a velvety, melt-in-your-mouth filling that’s rich without being heavy, all sat on a buttery graham cracker crust. It’s decadent enough for a birthday or holiday but simple enough for a regular Sunday when you just need a little something sweet.
Ingredients You’ll Need
- For the Crust: 2 cups graham cracker crumbs, 1/2 cup unsalted butter (melted), 1/4 cup granulated sugar. This creates our sweet, crunchy foundation.
- For the Strawberry Swirl: 1 1/2 cups fresh or frozen strawberries, 1/4 cup granulated sugar, 1 tablespoon lemon juice. This gives us that tangy, fruity ribbon.
- For the Filling: 4 packages (8 oz each) full-fat cream cheese (softened), 1 cup granulated sugar, 1 cup sour cream (room temp), 1 teaspoon vanilla extract, 4 large eggs (room temp). This is the key to that luxuriously smooth and creamy texture.
Let’s Get Cooking Step by Step
- Prep: Preheat your oven to 325°F. Wrap the outside of a 9-inch springform pan tightly with heavy-duty aluminum foil. This is our insurance policy against any water leaking into our precious cheesecake during its water bath.
- Make the Swirl: In a small saucepan, combine the strawberries and sugar. Cook over medium heat for about 10 minutes, mashing the berries as they soften, until you have a thick sauce. Push it through a fine-mesh sieve to remove the seeds, then stir in the lemon juice. Let it cool completely.
- Make the Crust: Stir the graham cracker crumbs, melted butter, and sugar until it looks like wet sand. Press it firmly and evenly into the bottom of your prepared pan. Bake for 10 minutes, then set aside to cool slightly.
- Make the Filling: In a large bowl, beat the softened cream cheese and sugar until it’s completely smooth—no lumps allowed! Scrape down the bowl. Beat in the sour cream and vanilla. Then, add the eggs one at a time, beating on low speed just until each is incorporated. Overmixing here can incorporate too much air and lead to cracking.
- Swirl and Bake: Pour the filling over the crust. Dollop the cooled strawberry sauce on top. Use a knife or skewer to gently swirl the sauce into the filling. Place the springform pan into a larger roasting pan. Pour hot water into the roasting pan until it comes about halfway up the sides of the springform pan. Bake for 65-75 minutes. The edges should be set but the center will still have a slight jiggle.
- Cool: Turn the oven off, crack the door open, and let the cheesecake sit in the warm oven for 1 hour. This gradual cooling is the secret to preventing cracks! Then, remove it from the water bath, take off the foil, and let it cool completely on a wire rack before refrigerating for at least 6 hours, preferably overnight.
Cheesecake Decoration Ideas
The beauty of this dessert is that the swirl does a lot of the decorating for you! For a simple, elegant finish, I love to pipe a border of whipped cream around the edge using a star tip. A few fresh, whole strawberries placed artistically in the center always look stunning. For a more rustic look, just before serving, scatter some crushed freeze-dried strawberries over the top. They add a beautiful pop of color and an intense berry flavor without any added moisture.
Variations & Substitutions
Feel free to play around here! That’s where the fun is.
- Gluten-Free: Use gluten-free graham-style crackers for the crust.
- Different Berry: This recipe makes a fantastic Raspberry Cake variation. Just swap the strawberries for raspberries in the swirl.
- Crust Swap: For a Biscoff Cheesecake vibe, use crushed Biscoff cookies instead of graham crackers and omit the added sugar.
- Citrus Twist: Add a tablespoon of lemon or orange zest to the filling for a bright, zingy note.
Cheesecake Toppings to Try
While it’s perfect on its own, toppings can take it to the next level. A warm chocolate ganache drizzle is never a bad idea. A simple berry compote made with whatever fruit you have on hand is a classic. For a bit of crunch, a sprinkle of toasted sliced almonds or a crumble of leftover crust mixture is delicious. Honestly, my personal favorite is just a generous dollop of freshly whipped cream. So good.
Storage & Reheating
This cheesecake stores beautifully. Keep it covered in the refrigerator for up to 5 days. You can also freeze it for up to 3 months. To freeze, place the cooled cheesecake (unwraped) in the freezer until solid, then wrap it tightly in a few layers of plastic wrap and foil. Thaw it overnight in the fridge before serving. Cheesecake is best served chilled, so no reheating is needed!
Frequently Asked Questions
Can I make this into mini desserts? Absolutely! For Mini Desserts, divide the crust and filling between lined muffin tins. Bake for about 20-25 minutes. They’re adorable for parties.
Why is room temperature so important for the ingredients? It’s the single biggest tip for a smooth, lump-free filling. Cold cream cheese just won’t blend as seamlessly, and cold eggs can shock the batter and make it harder to mix without overdoing it.
My cheesecake cracked! What did I do wrong? First, don’t stress! It will still taste incredible. Cracks usually happen from overmixing, overbaking, or cooling too quickly. The water bath and gradual cooling in the oven are your best defenses. And remember, that’s what gorgeous Cheesecake Toppings are for!
