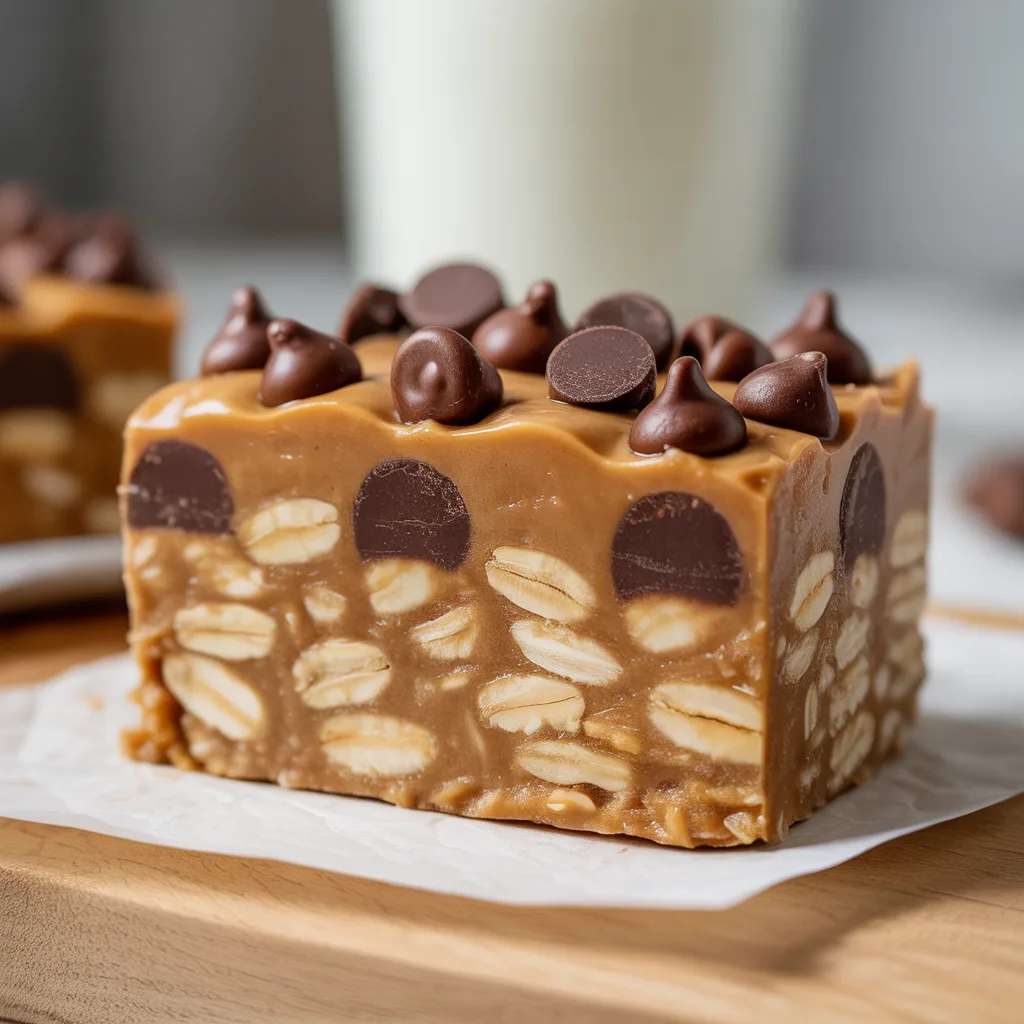
Ever have one of those days where you need a little something sweet, but the idea of turning on the oven feels like a monumental task? Or maybe you’re just looking for a trusty, healthier treat that everyone can enjoy. Well, my friends, you’ve come to the right place. These No Bake Peanut Butter Oat Bars Naturally Sweetened are your new best friend. They come together in about 15 minutes, require zero baking, and are packed with the kind of wholesome, comforting goodness that’ll make you feel good about sharing them. Seriously, what’s not to love?
Top Reasons To Make It
- They’re incredibly easy and require no baking at all. Perfect for hot summer days or when you just don’t want to heat up the kitchen.
- This recipe is a fantastic base for all sorts of allergy friendly desserts, being naturally dairy free and easily made gluten free.
- You probably have most, if not all, of the ingredients in your pantry right now.
- They’re the perfect make-ahead treat for busy weeks, satisfying that afternoon slump or after-dinner sweet tooth.
- Kids absolutely adore them, making them a great project for little helpers.
Ingredients
- 1 cup creamy natural peanut butter: The star of the show! Use a drippy kind for the best binding.
- 1/2 cup pure maple syrup: Our natural sweetener that adds a lovely depth of flavor.
- 1/4 cup coconut oil, melted: Helps everything set up nicely and adds a subtle richness.
- 1 teaspoon vanilla extract: A must for that warm, baking-esque aroma.
- 2 1/2 cups old-fashioned rolled oats: Provides the hearty, chewy base. Use certified gluten-free oats if needed.
- 1/4 teaspoon fine sea salt: Balances the sweetness and makes the peanut butter flavor pop.
- 1/3 cup dairy-free dark chocolate chips: Because a little chocolate makes everything better.
Instructions
- Line an 8×8 inch square baking pan with parchment paper, leaving some overhang on the sides for easy removal later.
- In a medium saucepan, combine the peanut butter, maple syrup, and coconut oil. Warm over low heat, stirring constantly, until the mixture is smooth and well combined. This should only take 2-3 minutes. Don’t let it boil.
- Remove the pan from the heat and stir in the vanilla extract and salt.
- Add the rolled oats to the saucepan and stir until every single oat is thoroughly coated in the peanut butter mixture.
- Pour about two-thirds of the oat mixture into your prepared pan. Press it down firmly and evenly into one compact layer.
- Sprinkle the dairy-free chocolate chips evenly over the pressed layer.
- Gently spoon and spread the remaining oat mixture over the chocolate chips. Press down firmly again to create the top layer. You can use the bottom of a measuring cup to really pack it in.
- Place the pan in the refrigerator for at least 2 hours, or until the bars are completely firm and set.
- Once set, use the parchment paper to lift the entire block out of the pan. Place it on a cutting board and slice into 12 bars.
Variations & Substitutions
The beauty of these bars is how adaptable they are. For a nut-free version, sunflower seed butter works wonderfully in place of the peanut butter. If you’re out of maple syrup, you can use an equal amount of agave nectar. Feel free to stir in 1/4 cup of shredded coconut, chopped nuts, or even a tablespoon of chia seeds with the oats. For a fun twist, swap the chocolate chips for dried cranberries or raisins. And if you want a little extra protein punch, a scoop of your favorite vanilla or chocolate vegan protein powder can be mixed in with the oats.
Serving Ideas & Pairings
These bars are fantastic all on their own, straight from the fridge. They’re the ultimate grab-and-go snack. I love enjoying one with a cold glass of almond milk or a hot cup of coffee for my afternoon break. They also make a great healthy-ish dessert alongside a bowl of fresh berries. Pack them in lunchboxes for a sweet surprise, or bring a plate to your next potluck—they’re always a hit and a great option for those seeking easy dairy free treats.
Storage & Reheating
Because they’re no-bake, these bars must be stored in an airtight container in the refrigerator. They’ll keep beautifully for up to one week. You can also freeze them for up to 3 months. Just place parchment paper between layers to prevent sticking, and thaw in the fridge overnight before serving. There’s no need to reheat them—they’re meant to be enjoyed cold and firm!
Pro Tips For Success
- Really press the mixture into the pan. I mean, press it like you mean it! This is the secret to bars that hold their shape and don’t crumble.
- Use runny, natural peanut butter. The kind that’s just peanuts and maybe salt. The oily texture is crucial for binding everything together.
- Don’t skip the chilling time. I know it’s tempting to sneak a taste early, but letting them set completely is non-negotiable for the perfect texture.
- For super clean cuts, warm your knife under hot water, wipe it dry, and then slice. Repeat between cuts.
- If your mixture seems too dry or too wet, you can adjust it. A little more PB if it’s dry, a few more oats if it’s wet.
- Honestly, the hardest part is waiting for them to chill. So good.
Frequently Asked Questions
- Can I make these gluten-free? Absolutely! Just be sure to use certified gluten-free rolled oats.
- What other nut butters can I use? Almond butter or cashew butter are fantastic, so, so delicious alternatives in these vegan dessert recipes.
- Are these considered healthy? They’re certainly a healthier option compared to many store-bought sweets! They’re made with whole food ingredients and are naturally sweetened, making them a great choice for healthy dairy free sweets.
- My bars are too crumbly. What happened? This usually means the mixture wasn’t pressed firmly enough into the pan, or you may have used a thicker, less oily nut butter.
- Can I double this recipe? You bet. Just use a 9×13 inch pan and expect a slightly longer chilling time to ensure they set all the way through.
These No Bake Peanut Butter Oat Bars Naturally Sweetened are proof that the best things in life don’t require an oven. They’re simple, soulful, and downright delicious—exactly the kind of food I love to share with my family. I hope they become a staple in your kitchen, too.
