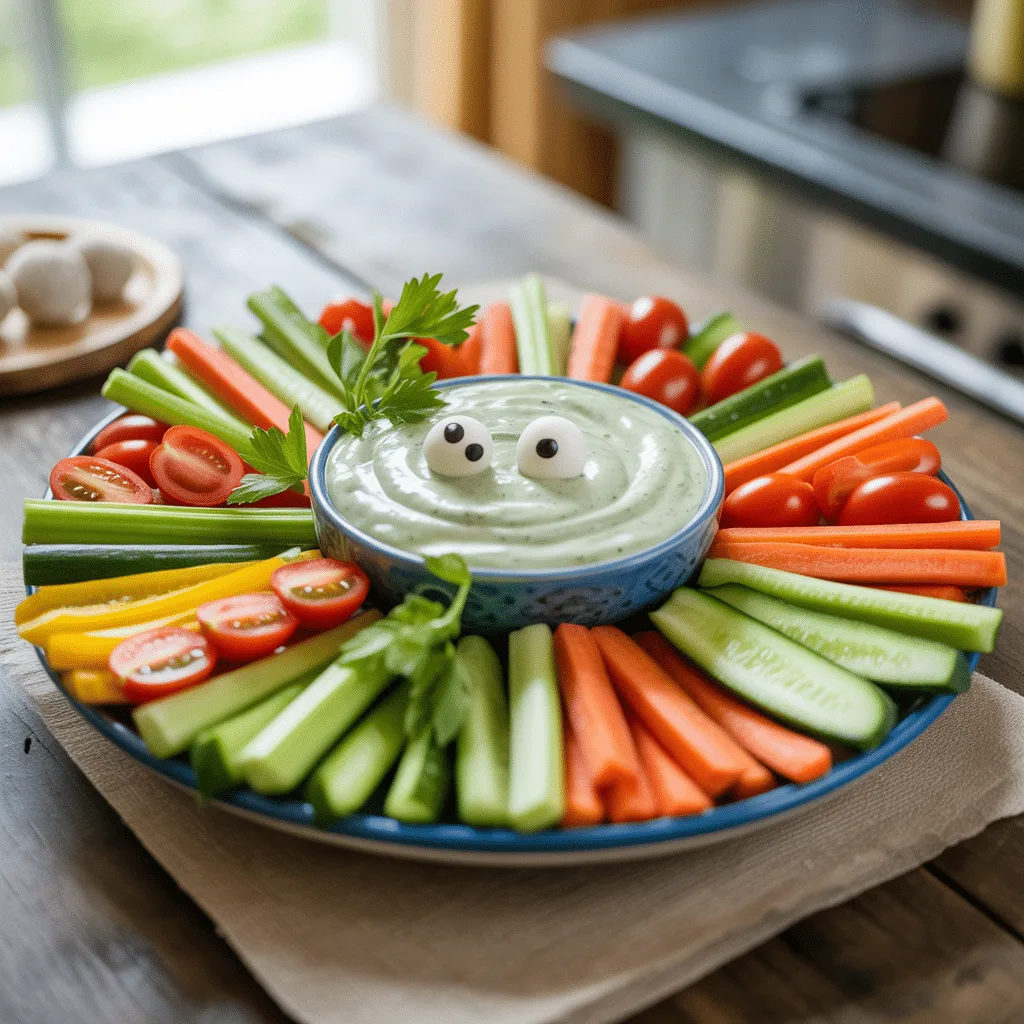
What’s the trick to throwing a Halloween party that’s more treat than trick? The answer is probably sitting right in your fridge. This isn’t just another platter of carrots and celery; it’s a centerpiece that’s as fun to make as it is to eat. This Monster Veggie Tray with Ranch “Slime” Dip brings the spooky fun of the season to your table without any of the fuss. It’s the perfect healthy-ish break from all the Halloween candy, and trust me, the kids (and let’s be honest, the adults too) will go absolutely wild for it.
Why You’ll Love This
You’ll love this recipe because it’s the ultimate win for a busy host. It’s seriously so easy. No cooking, no baking, just a little creative slicing and arranging. It’s a vibrant, healthy counterpoint to all the sugary Halloween food ideas for parties, giving your guests a refreshing option they can feel good about. And that ranch slime dip? It’s cool, creamy, and just a little bit eerie—the perfect partner for all those crisp, fresh vegetables. It’s a guaranteed crowd-pleaser that proves spooky snacks don’t have to be complicated to be incredibly memorable.
Ingredients You’ll Need
- 1 (16 oz) container sour cream: The rich, tangy base for our slime.
- 1 (1 oz) packet ranch seasoning mix: For that classic, herby flavor we all know and love.
- 2-3 tablespoons milk: Just enough to get that perfectly dippable, slimy consistency.
- Green gel food coloring: The essential element for our spooky, monstrous hue.
- 1 large head of broccoli: To form the creepy, green hair of our monster.
- 1 large cauliflower head: The perfect foundation for building a spooky monster face.
- 1 cup cherry tomatoes: Great for eyes or adding pops of red.
- 1 bell pepper (orange or yellow): Ideal for cutting into jagged monster teeth.
- 2-3 medium carrots: Perfect for sturdy antennae or claws.
- 1 cucumber: Sliced into rounds for scales or other fun details.
- Assorted black and green olives: The absolute best for crafting eyeballs.
Let’s Get Cooking Step by Step
- First, let’s make the slime. In a medium bowl, combine the entire container of sour cream and the packet of ranch seasoning. Stir until it’s completely smooth and no dry spots remain.
- Now, add the milk, one tablespoon at a time, stirring after each addition. You’re looking for a dip that’s thick but easily scoopable. Two tablespoons is usually perfect for me.
- Here comes the magic. Add your green gel food coloring drop by drop, stirring vigorously until you achieve your desired slime color. Want a gross-out bright green? Go for it! Prefer a murky swamp vibe? Use a little less. Honestly, the darker, spookier green always gets more oohs and ahhs at my parties.
- Cover the bowl with plastic wrap and pop it in the fridge to chill. This lets the flavors really get to know each other while you build your monster.
- Time to create! Find a large serving platter or a cutting board. Place a small bowl in the center—this is where you’ll later nestle your slime dip.
- Break the broccoli and cauliflower into large and small florets. These will be your monster’s wild, crazy hair. Arrange them around the bowl to create a fun, textured border.
- Now for the face. Slice the bell pepper into triangular shards to create a sharp, toothy grin. Use cherry tomatoes or round carrot slices topped with olive slices to make googly eyes. Get creative with cucumber scales and carrot antennae! This is the fun part, so let the kids help.
- Finally, take your slime dip out of the fridge, give it a stir, and carefully place the bowl into the spot you reserved on the platter. And just like that, your monster is alive!
Creative Monster Veggie Tray Ideas
Don’t feel limited to just one type of monster! The beauty of this concept is how customizable it is. For a classic Frankenstein, use a rectangular tray and make his hair all broccoli with a bolt-shaped carrot on the side. Want a silly Cyclops? Use one gigantic olive eye right in the center. You could even create a spooky landscape with cauliflower ghosts (use tiny black olive pieces for eyes) rising out of a field of spinach. Let whatever veggies you have on hand inspire you. The goal is fun, not perfection.
Variations & Substitutions
This setup is wonderfully flexible. Need a lighter dip? Swap the sour cream for plain Greek yogurt—it’s tangy and packs more protein. For a dairy-free slime, use a vegan sour cream alternative and unsweetened almond milk. Not a ranch person? A green goddess dressing mix works beautifully here too. And if you’re all out of fresh veggies, don’t panic. This is a great way to clean out the fridge—add some snap peas, celery sticks, or even radishes to the platter. The monster won’t mind one bit.
Serving Ideas & Pairings
This tray is the undisputed champion of Halloween finger foods. It’s the ideal starter to wake up everyone’s palate before you bring out the main event, whether that’s a hearty chili bar or a spooky dinner like mummy dogs. It pairs perfectly with other easy Halloween food like deviled egg eyeballs or a cheese ball wrapped in prosciutto to look like a mummy. And it provides that crucial fresh, crunchy element that balances out all the Halloween themed food and sweets. So good.
Storage & Reheating
The veggie platter itself is best served immediately after assembling. If you need to get a head start, you can pre-cut your vegetables the day before and store them in separate airtight containers in the fridge with a damp paper towel to keep them crisp. The ranch slime dip will keep beautifully in an airtight container in the refrigerator for up to 4 days. Give it a good stir before serving if it has separated slightly. This dish is meant to be served cold, so no reheating is needed!
Frequently Asked Questions
- Can I make the dip ahead of time? Absolutely! In fact, I recommend it. Making the dip a day ahead allows the flavors to meld together perfectly, making it even more delicious. Just hold off on adding the veggies to the tray until you’re close to serving time to keep them nice and crisp.
- What are the best veggies to use for a Halloween veggie tray? You want a mix of colors, textures, and shapes that are easy to snack on and craft with. Broccoli and cauliflower are staples for ‘hair’ and ‘brains.’ Bell peppers are fantastic for crafting smiles and teeth. Cherry tomatoes, cucumbers, and carrots are all sturdy and versatile for creating features. And don’t forget olives for those classic eyeballs!
- How can I prevent the veggies from drying out? The key is timing and a little moisture. Don’t cut them too far in advance. If you must, store them in sealed containers with a lightly dampened paper towel on top. You can also give the assembled tray a very light spritz with cold water right before serving to make it look extra fresh and dewy.
