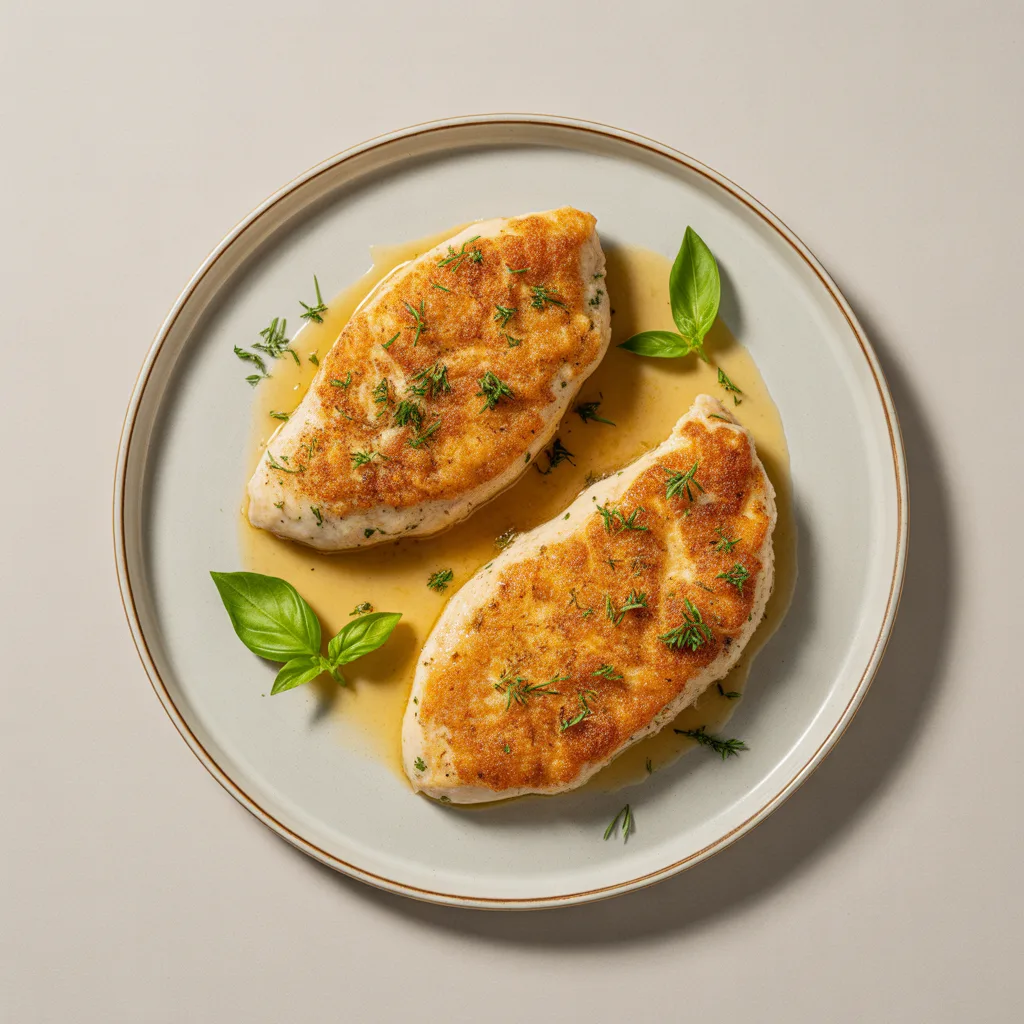
Ever find yourself staring at a package of boneless, skinless chicken breasts at 5 PM, wondering how to turn them into something your whole family will actually get excited about? I’ve been there more times than I can count. That’s why this recipe for Crispy Parmesan Chicken Breast Cutlets is my absolute weeknight hero. It’s the kind of simple, satisfying dish that feels like a warm hug but comes together with minimal fuss. Whether you bake them for a hands-off approach or pan-fry for that ultimate golden crust, you’re about to have a new go-to dinner recipe.
Why You’ll Love This
This recipe is a total game-changer for a few reasons. First, it’s incredibly versatile. You can cook these cutlets in the oven or a skillet, depending on your mood and time. Second, that crispy, cheesy, herby coating? So good. It transforms the sometimes-plain chicken breast into something truly special. And honestly, the ingredient list is short and sweet—you probably have most of this stuff in your pantry right now. It’s a healthy chicken recipe that doesn’t taste like it’s trying too hard. It’s just downright delicious and so, so comforting.
Ingredients You’ll Need
- 1 ½ lbs boneless, skinless chicken breasts (about 3-4): pounded to an even ½-inch thickness for quick, even cooking.
- ½ cup all-purpose flour: creates the essential base layer for the coating to stick.
- 2 large eggs: acts as the glue that holds the crispy crust onto the chicken.
- 1 cup Panko breadcrumbs: gives you that incredible, satisfying crunch.
- 1 cup freshly grated Parmesan cheese: for salty, savory, umami flavor in every bite.
- 1 tsp garlic powder: adds a warm, aromatic backbone.
- 1 tsp Italian seasoning: brings in those classic herbal notes we all love.
- ½ tsp kosher salt: enhances all the other flavors.
- ¼ tsp black pepper: a little bit of spice to balance everything out.
- 3 tbsp olive oil or avocado oil: for pan-frying to golden perfection.
- Fresh parsley or basil, chopped (for garnish): a fresh pop of color and flavor at the end.
Let’s Get Cooking Step by Step
- Prep your station. Get out three shallow dishes or plates. In the first, spread out your flour. In the second, whisk the eggs until they’re smooth. In the third, combine the Panko, grated Parmesan, garlic powder, Italian seasoning, salt, and pepper. Mix it all together with a fork until it’s well blended.
- Prepare the chicken. If your chicken breasts are thick, slice them in half horizontally to create two thinner cutlets. Place them between two pieces of plastic wrap or in a large zip-top bag. Gently pound them with a meat mallet, rolling pin, or even a heavy skillet until they’re about ½-inch thick all over. This step is key for tender, quick-cooking cutlets!
- Bread the cutlets. Working with one piece at a time, dredge a chicken cutlet in the flour, shaking off any excess. Next, dip it fully into the egg wash, letting the excess drip off. Finally, press it firmly into the Panko-Parmesan mixture, making sure both sides are thoroughly coated. Place the finished cutlet on a clean plate or wire rack and repeat with the remaining chicken.
- For Pan-Frying: Heat 3 tablespoons of oil in a large skillet over medium heat. To test if the oil is ready, flick a tiny bit of Panko into it—if it sizzles, you’re good to go. Cook the cutlets in batches (don’t crowd the pan!) for about 3-4 minutes per side, until the crust is deeply golden brown and the chicken is cooked through. The internal temperature should read 165°F on an instant-read thermometer.
- For Baking: Preheat your oven to 425°F. Arrange the breaded cutlets on a baking sheet fitted with a wire rack (this promotes air flow for maximum crispiness!). Lightly spray the tops with cooking spray or drizzle with a bit more oil. Bake for 15-18 minutes, until the coating is crispy and the chicken reaches 165°F internally. You don’t need to flip them if using a rack!
- Rest and serve. Let the chicken rest for a couple of minutes after cooking. This allows the juices to redistribute, ensuring every bite is moist. Garnish with a sprinkle of fresh herbs before serving.
Oven Temperatures for Perfect Cutlets
Getting that perfect bake without drying out the chicken is easier than you think. I always recommend 425°F. It’s hot enough to get the Parmesan and Panko beautifully crispy and golden without having to keep the chicken in the oven for so long that it dries out. And using that wire rack is my number one pro tip—it lets hot air circulate all around the cutlet, crisping up the bottom just as well as the top. If you don’t have a rack, you can bake them directly on a parchment-lined sheet, but just be aware the bottom might be a tad softer.
Variations & Substitutions
This recipe is a wonderful blank canvas. For a gluten-free version, swap the all-purpose flour for a 1:1 GF blend and use certified gluten-free Panko. If you’re out of Panko, regular breadcrumbs will work, though the crust won’t be quite as shatteringly crisp. Don’t have Italian seasoning? No problem. A simple mix of dried oregano and basil will do the trick. And for a little kick, add a pinch of red pepper flakes or smoked paprika to the breadcrumb mixture. Honestly, if you have a picky eater who doesn’t like “green bits,” you can leave the dried herbs out entirely—the Parmesan and garlic carry plenty of flavor on their own.
Serving Ideas & Pairings
These crispy cutlets are fantastic alongside so many things. For a classic weeknight dinner, I love them with a simple arugula salad and a big pile of creamy mashed potatoes. They’re also incredible sliced and tossed into a pasta dish with marinara sauce, or even tucked into a crusty roll with marinara and mozzarella for a next-level chicken Parmesan sandwich. If you’re looking for more quick dinner ideas, pair them with roasted broccoli or green beans—anything that can go into the oven alongside the chicken is a win in my book.
Storage & Reheating
Leftovers will keep in an airtight container in the refrigerator for up to 3 days. To freeze, place cooled cutlets in a single layer on a baking sheet to freeze solid, then transfer to a freezer bag for up to 2 months. Reheating is key to bringing back the crunch! For best results, skip the microwave. Instead, reheat them in a 375°F oven or toaster oven for 10-15 minutes (20 if frozen) until hot and crispy. You can also re-crisp them in an air fryer at 375°F for about 5-7 minutes.
Frequently Asked Questions
- Can I use pre-shredded Parmesan cheese from a bag? I highly recommend grating a block of Parmesan yourself if you can. The pre-shredded stuff often has anti-caking agents that can keep it from melting and adhering to the chicken as well. Freshly grated gives you the best flavor and texture for these baked chicken recipes.
- My coating is falling off. What did I do wrong? The most common culprit is not shaking off the excess flour after the first dredge. That thin layer of flour is what the egg grips onto. If there’s too much flour, the egg slides right off. Also, make sure to press the chicken firmly into the breadcrumb mixture to really adhere it.
- Can I make this with chicken thighs? Absolutely! Boneless, skinless chicken thighs would work beautifully here. Just be aware they may need a minute or two longer in the oven or pan since they’re a bit thicker and have more fat.
- What’s the best way to pound chicken without a mallet? My favorite hack is to use a heavy, sturdy skillet or even a rolling pin. Just place the chicken between two pieces of plastic wrap to avoid any mess and pound away until you get that even thickness.
