Is there anything more satisfying than taco night? The sizzle, the smells, the promise of a delicious, customizable feast that makes everyone at the table happy. But let’s be real, standing over a hot skillet to fry tortillas one by one can really slow down the party. That’s why I’m so excited to share my method for these Crispy Oven-Baked Beef Tacos with Melty Cheese. It’s a game-changer for a busy weeknight. You get all the fantastic crunch of a fried taco, but with way less fuss and a lot less oil. Trust me, your family is going to go crazy for these.
Top Reasons To Make It
- Effortless Crunch: The oven does all the work, giving you perfectly crisp shells without the mess of frying.
- Feeds a Crowd: You can bake a whole sheet pan of tacos at once, making it perfect for a taco bar setup.
- Healthier Twist: Baking uses significantly less oil than traditional frying, landing these squarely in the category of healthy tacos you can feel good about.
- Kid-Approved: The melty, cheesy, crispy combo is a guaranteed hit with the little ones. My three are the toughest critics!
- Customizable Fun: Everyone can build their dream taco with their favorite toppings.
Ingredients
- 1 lb ground beef (85/15 works great for flavor)
- 1 tablespoon olive oil
- 1 medium yellow onion, finely chopped
- 2 cloves garlic, minced
- 1 packet (about 2 tbsp) taco seasoning, or your favorite homemade blend
- 1/2 cup beef broth
- 12 corn tortillas (or small flour tortillas for a softer shell)
- 2 cups shredded Mexican cheese blend
- Cooking spray or a bit more olive oil for brushing
Instructions
- Preheat your oven to 400°F (200°C). Lightly grease a large baking sheet or line it with parchment paper.
- Heat the olive oil in a large skillet over medium heat. Add the onion and cook until softened, about 5 minutes. Add the garlic and cook for another minute until fragrant.
- Add the ground beef to the skillet, breaking it up with a spoon. Cook until browned and no pink remains. Drain off any excess grease.
- Stir in the taco seasoning and beef broth. Let it simmer for about 5 minutes until the liquid is mostly absorbed. Remove from heat.
- Warm the tortillas for about 30 seconds in the microwave between damp paper towels to make them pliable. This is a key step to prevent cracking!
- Lay a tortilla flat and spoon 2-3 tablespoons of the beef mixture onto one half. Top with a generous pinch of cheese.
- Fold the other half of the tortilla over the filling and place it on the prepared baking sheet. Repeat with the remaining tortillas and filling, arranging them so they aren’t touching.
- Lightly spray or brush the outside of each taco with oil. This is the secret to that incredible, golden crispiness.
- Bake for 10-12 minutes. Carefully flip the tacos over and bake for another 5-7 minutes, or until the shells are crisp and the cheese is bubbly.
- Let them cool for a minute or two before serving—the filling will be hot, hot, hot!
Tips For Success
- Warm those tortillas! Cold tortillas will crack when you try to fold them. A quick zap in the microwave or a warm skillet makes them flexible.
- Don’t overfill. It’s tempting, but too much filling will make the tacos hard to fold and they might burst open in the oven.
- Give them space on the pan. Crowding leads to steaming instead of crisping.
- For extra crispy edges, you can brush the tacos with a little melted butter instead of oil. So good.
- Get the kids involved in the assembly line. It makes the whole taco night experience more fun.
Variations & Substitutions
- Ground Beef Swap: Feel free to use ground turkey, chicken, or a plant-based ground meat alternative. Just adjust cooking times as needed.
- Gluten-Free: This recipe is naturally gluten-free if you use corn tortillas and check your taco seasoning label.
- Spice Level: Honestly, if you’re sensitive to heat, use a mild taco seasoning. For more kick, add a diced jalapeño to the beef mixture or a pinch of cayenne.
- Taco Bowls: Turn this into a taco bowl by skipping the folding step. Just bake the tortilla shells in an oven-safe bowl to form a cup, then fill with the beef and toppings.
- Cheesy Delight: Mix things up with different cheeses. Pepper jack adds spice, while a sharp cheddar gives a great flavor punch.
Taco Toppings Ideas
The best part of any taco dinner is the toppings bar! Set out a few bowls and let everyone create their own masterpiece. Here are some of our family’s favorites:
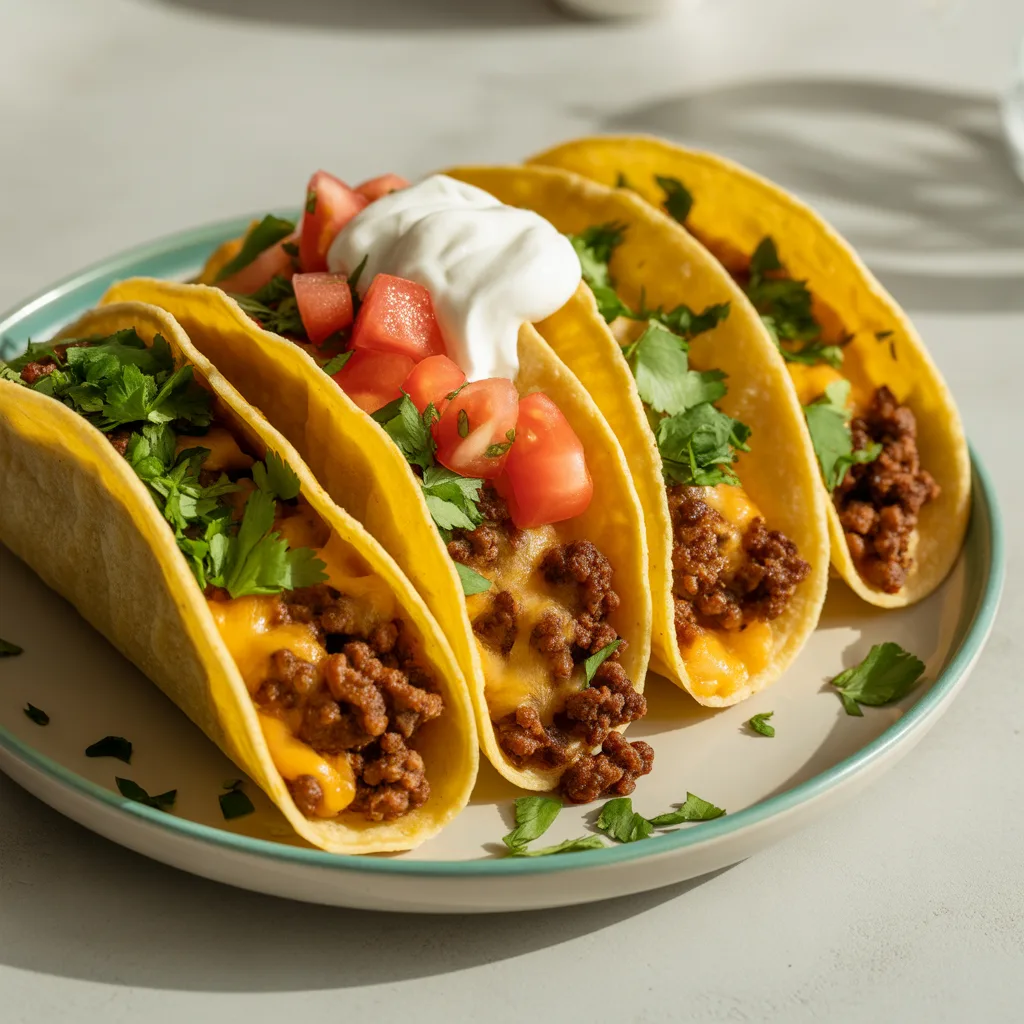
- Classic: Shredded lettuce, diced tomatoes, sour cream, and salsa.
- Fresh & Zesty: Pickled red onions, chopped cilantro, a squeeze of lime juice, and sliced radishes for a true Mexican street tacos vibe.
- Cool & Creamy: Diced avocado or guacamole, cotija cheese crumbles, and a drizzle of crema.
- For a Kick: Sliced jalapeños, a spicy chipotle sauce, or your favorite hot sauce.
Storage & Reheating
- Fridge: Store leftover assembled tacos in an airtight container for up to 3 days. They will lose some crispiness but are still tasty.
- Freezer: You can freeze the baked tacos on a sheet pan, then transfer to a freezer bag for up to 2 months.
- Reheating: To bring back the crunch, reheat in a 375°F oven or toaster oven for 10-15 minutes until hot and crispy. The microwave will make them soft.
Frequently Asked Questions
- Can I use flour tortillas? Absolutely! Flour tortillas will give you a softer, more chewy result compared to the crispness of corn. They’re still delicious.
- How do I keep the tacos from getting soggy? The key is to not overfill them and to make sure your beef mixture isn’t too watery. Letting it simmer until the broth is absorbed is crucial. Also, serve toppings on the side.
- Can I make these ahead for a party? You can prepare the filling up to 2 days in advance. Assemble and bake the tacos right before serving for the best texture.
- What are some other taco ideas using this method? This technique works great with shredded chicken, black beans, or seasoned potatoes for a fantastic vegetarian option.
