Ever find yourself craving something rich and chocolaty but need a dessert that works for everyone around the table? I get it. That’s exactly why these Creamy Coconut Chocolate Pudding Cups are a staple in my house. They’re the kind of no-fuss, make-ahead treat that feels indulgent but is secretly pretty wholesome. Honestly, I think they’re better than any traditional pudding I’ve had. So creamy.
Top Reasons To Make It
- It’s incredibly easy to whip up with just a handful of simple ingredients.
- Naturally dairy-free, gluten-free, and vegan, making it a perfect allergy friendly dessert.
- The texture is unbelievably rich and silky without any dairy.
- You can make it ahead of time, which is a lifesaver for busy weeknights or entertaining.
- It’s a total crowd-pleaser that satisfies even the most serious chocolate cravings.
Ingredients
- 2 (13.5-ounce) cans full-fat coconut milk: for that luxuriously creamy base.
- 1/2 cup pure maple syrup: adds a natural sweetness and depth of flavor.
- 1/3 cup unsweetened cocoa powder: provides the deep, rich chocolate taste.
- 1/4 cup cornstarch: the key thickening agent for the perfect pudding consistency.
- 1 teaspoon vanilla extract: enhances all the other flavors.
- 1/4 teaspoon sea salt: balances the sweetness and makes the chocolate pop.
- Vegan dark chocolate chips (for garnish): because a little extra chocolate is always a good idea.
Instructions
- In a medium saucepan, whisk together the coconut milk, maple syrup, cocoa powder, cornstarch, and sea salt until very smooth and no lumps remain.
- Place the saucepan over medium heat. Cook, whisking constantly, for about 8-10 minutes. You’ll know it’s ready when the mixture thickens significantly and begins to bubble gently.
- Remove the pan from the heat and stir in the vanilla extract.
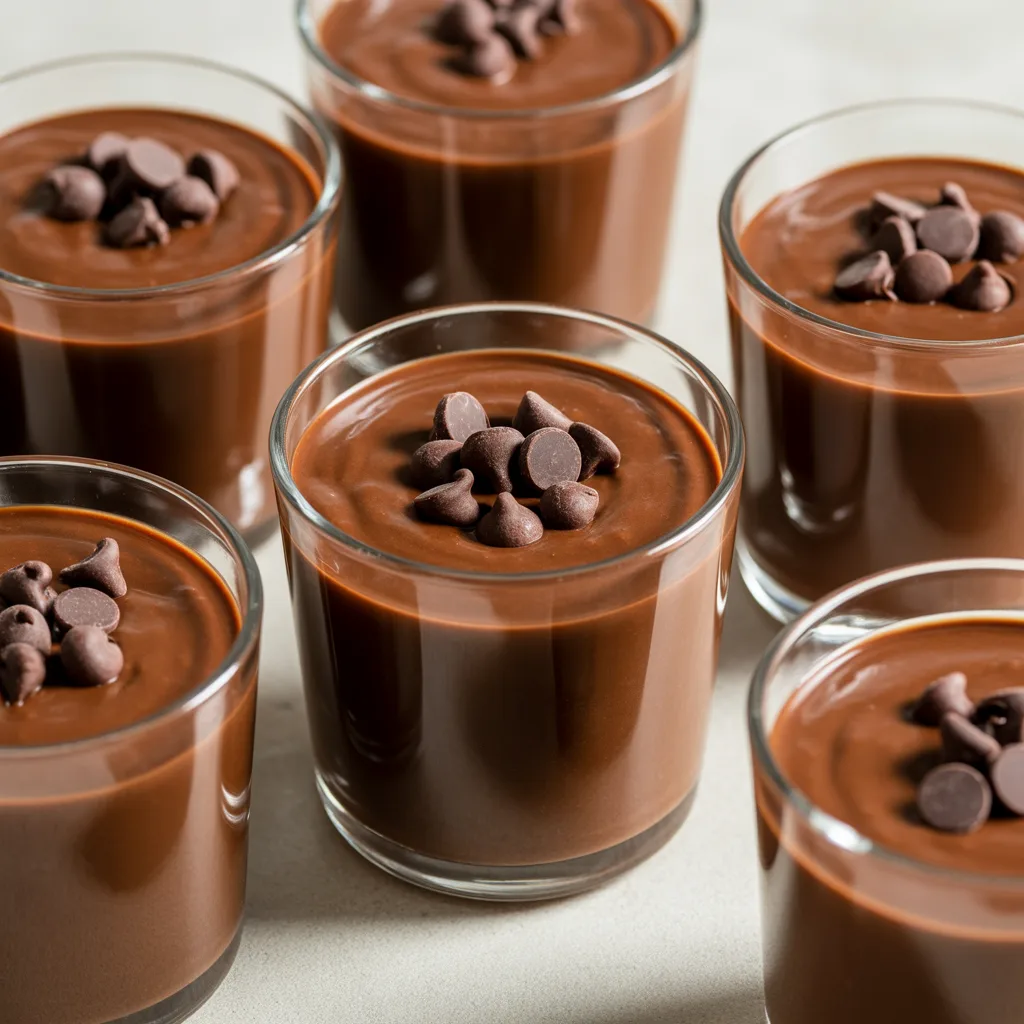
- Immediately pour the pudding into 6 small cups or ramekins. To prevent a skin from forming, press a piece of plastic wrap directly onto the surface of each pudding.
- Refrigerate for at least 4 hours, or until completely chilled and set. Garnish with chocolate chips just before serving.
Variations & Substitutions
- Sweetener Swap: You can use an equal amount of coconut sugar instead of maple syrup.
- Chocolate Twist: Swap the cocoa powder for cacao powder for a more intense, antioxidant-rich flavor.
- Orange Zest: For a fun flavor twist, add a teaspoon of fresh orange zest to the pudding along with the vanilla.
- Minty Fresh: A drop or two of pure peppermint extract will make these taste like a dairy free dessert version of your favorite holiday candy.
- Thickener: If you don’t have cornstarch, arrowroot powder works as a great 1:1 substitute.
Serving Ideas & Pairings
These pudding cups are fantastic all on their own, but I love dressing them up a little. A sprinkle of toasted coconut flakes adds wonderful texture. For a real treat, top them with some fresh raspberries or sliced strawberries—the tart fruit pairs beautifully with the rich chocolate. And if you’re serving them for a party, set out a little topping bar with crushed dairy-free cookies, chopped nuts, and a bowl of whipped coconut cream. They also pair wonderfully with a hot cup of coffee or a glass of oat milk.
Dairy Free Baking Tips
- Always shake your cans of coconut milk well before opening to incorporate the cream and liquid.
- When a recipe calls for whipping, make sure to chill your cans of full-fat coconut milk in the fridge overnight. This helps the cream separate and solidify, making it perfect for whipped toppings.
- Don’t be afraid of fat! Full-fat coconut milk is your best friend in dairy free baking recipes; it provides the richness that butter and cream normally would.
- For the best texture in your easy dairy free treats, make sure to whisk your cornstarch into a little cold liquid before adding it to a hot mixture to prevent lumps.
- And my number one tip? Taste as you go. Plant-based cooking is all about adjusting to your personal preference.
Storage & Reheating
Store any leftover pudding cups covered tightly in the refrigerator. They’ll keep beautifully for up to 4 days. This is one of those milk free desserts that does not freeze well, as the texture will become grainy and separate when thawed. There’s no need to reheat—these are meant to be enjoyed cold straight from the fridge!
Frequently Asked Questions
- Can I use light coconut milk? I don’t recommend it. You need the high fat content in full-fat coconut milk to achieve the proper creamy, decadent texture. Light coconut milk will result in a much thinner pudding.
- Is this pudding gluten-free? Yes! This recipe is naturally gluten free, making it a great option for gluten free dairy free desserts.
- My pudding is lumpy. What can I do? If you end up with a few lumps, simply pour the warm pudding through a fine-mesh sieve into your cups. It will smooth it right out.
- Can I make this into a pie? Absolutely. This filling is perfect for a pre-baked chocolate crust. Just pour it in and chill until set.
- Is this considered a healthy dairy free sweet? Compared to many store-bought options, yes! You’re controlling the ingredients and using natural sweeteners, which is always a win in my book.
Whether you’re avoiding dairy or just looking for a delicious, make-ahead treat, I hope these Creamy Coconut Chocolate Pudding Cups become a new favorite in your home.
