You know those days when you’re craving something warm and sweet, but the thought of creaming butter and sugar feels like a monumental task? That’s where this beautiful Cherry Pineapple Dump Cake Sweet and Juicy swoops in to save the day. It’s the dessert that proves delicious doesn’t have to be difficult. My grandma would have loved the sheer, unapologetic ease of it. Honestly, it’s the kind of recipe that makes you feel like a kitchen genius with almost zero effort. So, so comforting.
Why You’ll Love This
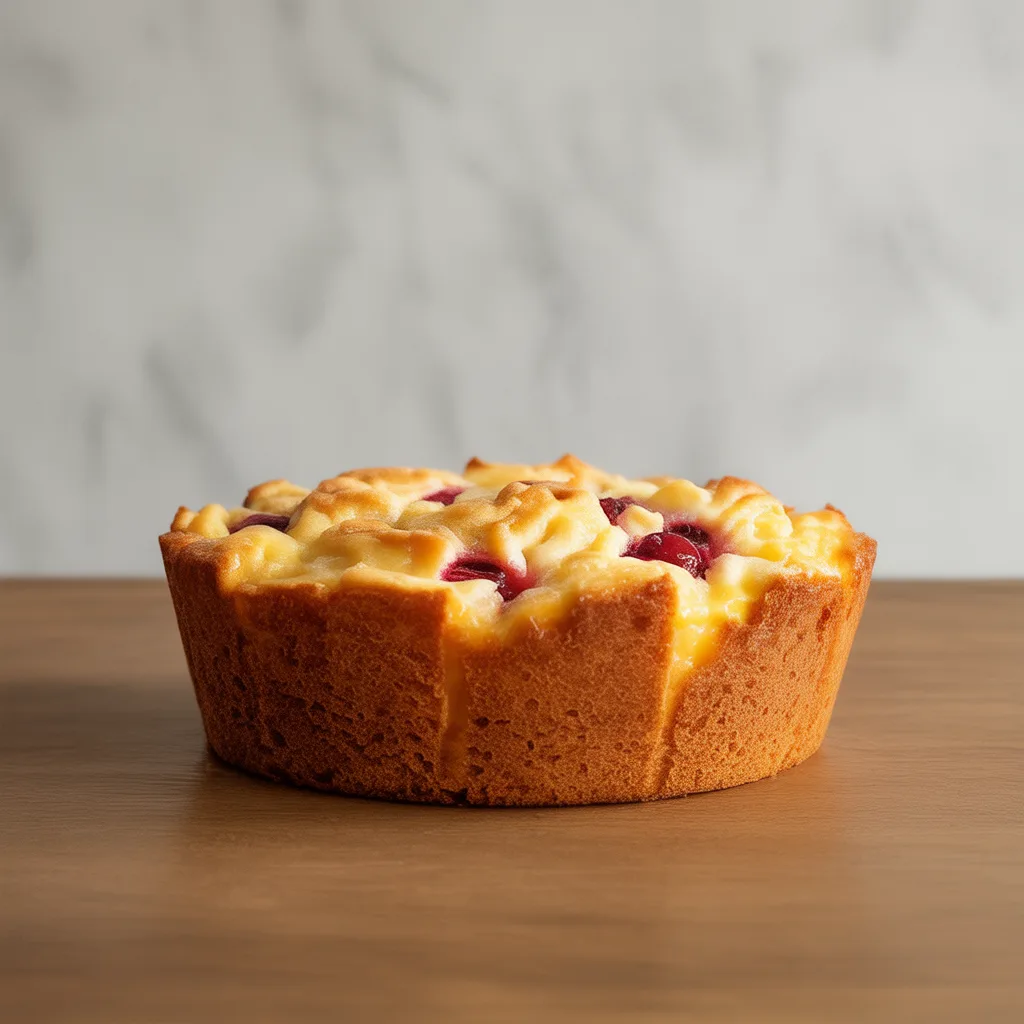
This cake is the ultimate cozy dessert hack. It’s practically foolproof, requiring just a few minutes of hands-on work before it bakes into a bubbling, golden-topped delight. The magic happens in the pan—no fancy mixing bowls needed. The result is a wonderfully rustic dessert with a crisp, buttery topping that gives way to a sweet and juicy cherry-pineapple filling. It’s the perfect treat for a last-minute potluck, a weeknight family dessert, or when you just need a little sweetness without the fuss.
Ingredients You’ll Need
- 1 (21-ounce) can cherry pie filling: Provides the deep, sweet cherry base.
- 1 (20-ounce) can crushed pineapple, undrained: Adds a bright, tangy juice that makes the filling so moist.
- 1 (15.25-ounce) box yellow or butter recipe cake mix: The dry mix creates that irresistible crumbly topping.
- 1 cup (2 sticks) unsalted butter, melted: This is the key to the golden, crispy crust.
- 1/2 cup chopped pecans or walnuts (optional): For a little crunch and nutty flavor.
Let’s Get Cooking Step by Step
- Preheat your oven to 350°F (175°C). Grab a 9×13-inch baking dish. You don’t even need to grease it. Seriously.
- Spread the entire can of cherry pie filling evenly across the bottom of the dish.
- Dump the entire can of crushed pineapple, juice and all, right over the cherry layer. Gently spread it out. Don’t worry about mixing them together—the oven will take care of that.
- Sprinkle the entire box of dry cake mix directly over the fruit layer. Try to spread it as evenly as you can, but again, no perfection required here. This is a dump cake, after all!
- Drizzle the melted butter over the top of the cake mix, trying to cover as much surface area as possible. This is what creates that amazing crisp texture. If you’re using nuts, sprinkle them on top now.
- Bake for 45-55 minutes, or until the top is deep golden brown and the fruit is bubbly around the edges.
- Let it cool for at least 15-20 minutes before serving. It will be molten hot straight out of the oven. The waiting is the hardest part!
Simple Cake Mix Tips for Success
- Patience is a virtue. Letting the cake cool a bit before diving in allows the juicy layers to set slightly, so you get a perfect scoop instead of a soupy mess.
- Don’t stir! The layered approach is what makes a dump cake work. The butter seeps down, the fruit bubbles up, and the cake mix turns into a delightful crumble.
- For an extra-crispy topping, make sure your melted butter drizzles over as much of the dry cake mix as possible. A little patchiness is okay, but good coverage means more buttery goodness.
- Use a fork to check doneness. If you poke the topping and it still feels overly wet or powdery, give it another 5 minutes in the oven.
- And my favorite tip? Own the simplicity. This isn’t a fussy French pastry; it’s a down-home, delicious dessert. Lumps and bumps are part of its charm.
Variations & Substitutions
The beauty of dump cake recipes is their flexibility. Don’t be afraid to play around!
- Fruit Swaps: Use blueberry or apple pie filling instead of cherry. Peach pie filling with the pineapple is also a fantastic combo.
- Cake Mix Fun: Chocolate cake mix over the cherry pie filling creates a classic Black Forest vibe. Spice cake mix is wonderful with apple filling for a fall treat.
- Dietary Tweaks: For a dairy-free version, use your favorite plant-based butter. The cake mix itself is often accidentally vegan, but always check the label.
- Flavor Twists: Add a teaspoon of almond extract to the fruit layer, or sprinkle shredded coconut over the top with the nuts for a tropical twist.
Serving Ideas & Pairings
This cake is a dream on its own, but a little extra never hurts. Serve it warm, right from the pan. A scoop of vanilla ice cream is non-negotiable in my book—the way it melts into the warm fruit is pure magic. For a lighter option, a dollop of freshly whipped cream is just as good. It’s the perfect ending to a summer barbecue or a cozy winter meal. So good.
Storage & Reheating
Cover the baking dish with foil or transfer leftover cake to an airtight container. It will keep in the fridge for up to 4 days. You can also freeze it for up to 3 months. To reheat, I highly recommend using an oven or toaster oven (about 300°F until warm) to bring back that crispy topping. The microwave works in a pinch but will make the topping soft.
Frequently Asked Questions
- Can I make this a 3 ingredient dump cake? Absolutely! The core three ingredients are the two cans of fruit and the cake mix. The butter is highly recommended for the best texture, but some recipes use a can of soda poured over the dry mix instead for a different, cake-like result.
- Why is my dump cake soggy? This usually happens if it hasn’t baked long enough. The top should be a deep golden brown and the edges should be actively bubbling. Also, make sure you’re using the full amount of melted butter to help crisp up the topping.
- Can I use fresh fruit? I don’t recommend it for this specific easy dump cake recipe. Canned fruit has a lot of juice and sugar that is essential for creating the right syrupy base. Fresh fruit won’t release enough liquid and could result in a dry dessert.
- What other quick dessert recipes can I make like this? The dump cake method works with almost any combination of canned fruit and cake mix. It’s the queen of lazy baking desserts for a reason!
