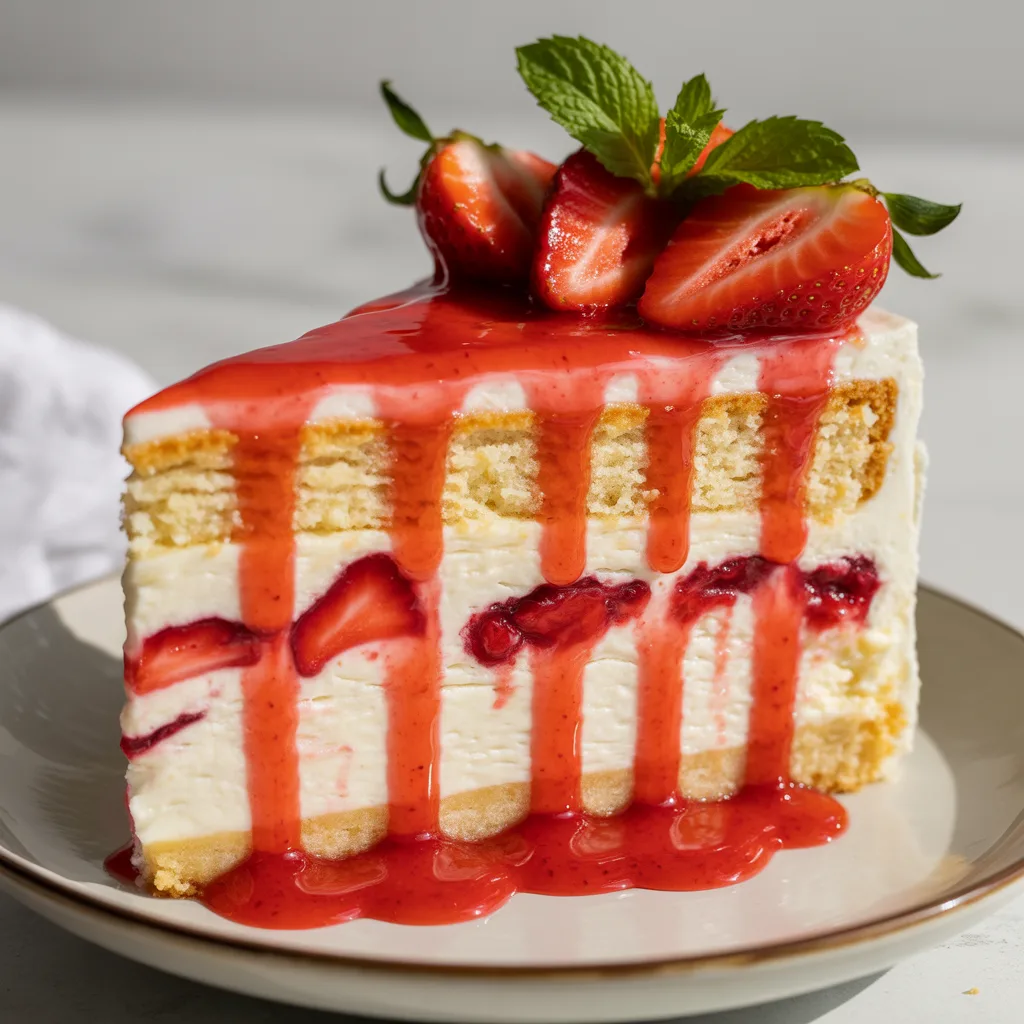
Is there anything more dreamy than the classic combination of strawberries and cream? Now, imagine that beloved flavor tucked between layers of creamy, dreamy cheesecake and fluffy vanilla cake. This Strawberry Shortcake Cheesecake Layers dessert is a showstopper that looks like it came from a fancy bakery, but I promise, it’s totally doable in your own kitchen. It’s the best of both worlds, and honestly, it might just become your new favorite thing to make for a special occasion.
Why You’ll Love This
This dessert is a total crowd-pleaser. It combines the rich, tangy creaminess of the best cheesecake recipe with the light, airy texture of a simple vanilla cake. And that fresh strawberry and raspberry sauce? So good. It cuts through the richness perfectly. Plus, the whole thing is just so, so pretty. It has that gorgeous cheesecake aesthetic that makes everyone’s eyes light up. It’s a project, but a fun one, and the delicious payoff is absolutely worth it.
Ingredients You’ll Need
- For the Vanilla Cake Layers: 1 box white or yellow cake mix (plus the oil, water, and eggs it calls for). This gives us a reliable, fluffy base without starting from scratch.
- For the Cheesecake Layers: 24 oz cream cheese, softened. This is the star, so use full-fat for the creamiest texture.
- 1 cup granulated sugar. Sweetens everything up perfectly.
- 1 cup sour cream. The secret ingredient for a tangy, ultra-smooth filling.
- 3 large eggs. They bind the cheesecake as it bakes.
- 2 tsp vanilla extract. For that warm, classic flavor.
- For the Strawberry-Raspberry Sauce: 2 cups fresh strawberries, hulled and sliced. You could use frozen in a pinch, but fresh is best here.
- 1 cup fresh raspberries. Adds a beautiful color and a little tartness.
- 1/4 cup granulated sugar. Adjust to your taste and how sweet your berries are.
- 1 tbsp cornstarch mixed with 1 tbsp water. This will thicken your sauce into a perfect glaze.
- For Assembly: 1 1/2 cups heavy whipping cream, chilled. For that fluffy whipped topping.
- 1/4 cup powdered sugar. Sweetens the cream without grittiness.
- Additional whole strawberries and mint leaves for garnish. Makes it look extra special.
Let’s Get Cooking Step by Step
- First, bake your cake. Preheat your oven to the temperature on your cake mix box (usually 350°F). Grease and line two 9-inch round cake pans with parchment paper. Prepare the batter according to the package directions, divide it between the pans, and bake until a toothpick inserted in the center comes out clean, about 20-25 minutes. Let the cakes cool completely in the pans, then run a knife around the edges and turn them out onto a wire rack.
- While the cakes cool, make the cheesecake layers. Keep the oven at 350°F. Line the same two cake pans with aluminum foil, leaving some overhang on the sides. This will be your sling to lift the cheesecakes out later. Grease the foil lightly.
- In a large bowl, beat the softened cream cheese and sugar together with an electric mixer until it’s completely smooth and no lumps remain. Scrape down the sides of the bowl. This step is crucial for a silky texture!
- Beat in the sour cream and vanilla extract until just combined. Then, add the eggs one at a time, beating on low speed after each addition until the yolk disappears. Don’t overmix once the eggs are in! Overmixing incorporates too much air and can cause cracks.
- Divide the cheesecake batter evenly between your two prepared pans. Tap the pans gently on the counter to release any air bubbles. Bake for 20-25 minutes, or until the edges are set but the center still has a slight jiggle. Turn the oven off, crack the door open, and let the cheesecakes cool inside for 30 minutes. This helps prevent sinking. Then, remove them from the oven and let them cool completely on the counter before chilling in the fridge for at least 4 hours, preferably overnight.
- Now, for the sauce. In a small saucepan, combine the strawberries, raspberries, and sugar. Cook over medium heat, stirring occasionally, until the berries break down and release their juices, about 8-10 minutes.
- Stir the cornstarch and water mixture into the berry sauce. Bring it to a gentle simmer for 1-2 minutes, until the sauce thickens noticeably. Remove from heat and let it cool completely. It will thicken more as it cools.
- Time to assemble! Carefully use the foil slings to lift your chilled cheesecakes out of the pans. Place one vanilla cake layer on your serving plate. Top it with one cheesecake layer. Spread about half of the cooled berry sauce over the cheesecake layer.
- Place the second vanilla cake layer on top, followed by the second cheesecake layer. Now, whip your cold heavy cream and powdered sugar until stiff peaks form. Frost the top and sides of the entire cake with the whipped cream. Don’t worry about it being perfect—a rustic look is charming!
- Spoon the remaining berry sauce over the top of the cake, letting some drizzle down the sides. Garnish with whole strawberries and mint leaves. Chill for at least one more hour before slicing and serving.
Cheesecake Decoration Ideas
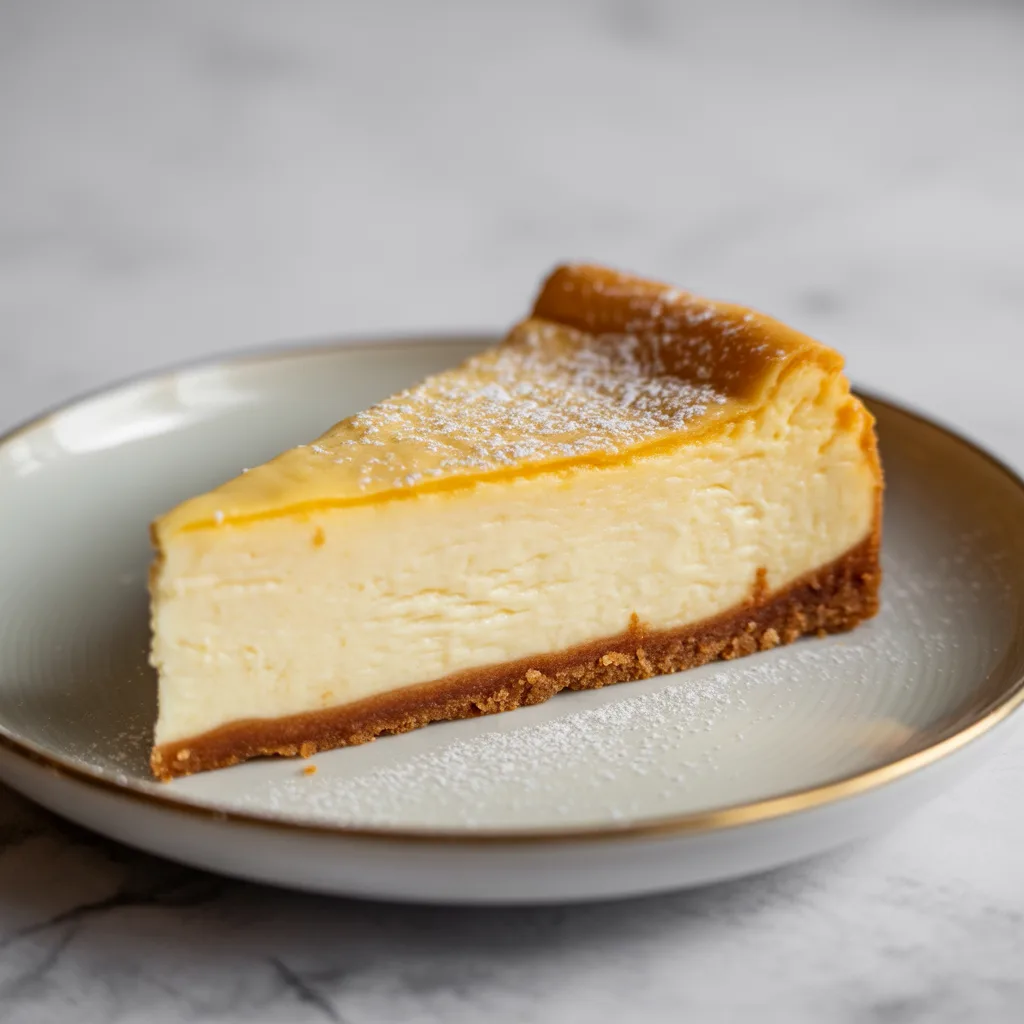
The beauty of this dessert is in its layers, but the top is your canvas! For a stunning cheesecake decoration, try arranging fresh strawberry slices in a circular pattern from the outside in. A drizzle of melted white or dark chocolate always adds a professional touch. For a Biscoff cheesecake twist, you could crush some Biscoff cookies and press them into the sides of the frosted cake for a crunchy, spiced exterior. And honestly, a simple dusting of powdered sugar right before serving never fails to look elegant.
Serving Ideas & Pairings
This cake is rich, so a little slice goes a long way. It’s perfect for a birthday, Mother’s Day, or a summer potluck. For a full dessert spread, pair it with some mini desserts like lemon bars or chocolate-dipped strawberries to give your guests options. A cup of hot coffee or a glass of cold milk is the ideal beverage pairing to balance the sweetness. If you’re serving a crowd, you can even pre-slice it and plate the pieces for easy grabbing.
Variations & Substitutions
- Gluten-Free: Use a gluten-free yellow cake mix and ensure your other ingredients are certified gluten-free.
- Dairy-Light: You can use Neufchâtel cheese instead of full-fat cream cheese and light sour cream. For the whipped topping, a coconut cream alternative works well (chill a can of full-fat coconut milk and scoop out the solid cream to whip).
- Flavor Twists: For a chocolate cake base, use a chocolate cake mix instead of vanilla. Swap the berry sauce for a blueberry or cherry pie filling. For cheesecake toppings, try a salted caramel sauce or a dusting of cocoa powder.
Storage & Reheating
This cake must be stored covered in the refrigerator. It will keep well for 3-4 days. The whipped cream frosting may start to weep a little after the first day, but it will still taste delicious. I do not recommend reheating this dessert. For longer storage, you can freeze individual slices. Wrap them tightly in plastic wrap and then aluminum foil and freeze for up to 2 months. Thaw overnight in the refrigerator before serving.
Frequently Asked Questions
- Q: Can I make this into a Biscoff cheesecake version?
A: Absolutely! For a Biscoff cheesecake flavor, you could add 1/2 cup of Biscoff cookie butter to the cheesecake batter when you add the sugar. You could also use crushed Biscoff cookies for the crust if you decided to add one between layers. - Q: My cheesecake layers cracked. What did I do wrong?
A: Don’t worry! This happens to the best of us. The most common reasons are overmixing the batter after adding the eggs (which adds too much air) or a sudden temperature change. The beauty of this recipe is that the cracked layers will be hidden by cake and frosting. No one will ever know! - Q: Can I use frozen fruit for the sauce?
A: You can! There’s no need to thaw it first. Just add a few extra minutes to the cooking time since frozen fruit will release more water as it cooks. You might need a tiny bit more cornstarch slurry to get it to the right thickness.