Is there anything more festive than a holiday dessert that’s as fun to make as it is to eat? Well, get ready to meet your new favorite treat: Red Velvet Cheesecake Brownie Bites. They bring together the rich, chocolaty goodness of a brownie, the tangy swirl of cheesecake, and that iconic holiday-red color in one perfectly portioned bite. It’s the kind of recipe that looks like you fussed, but honestly, it’s all about simple techniques I learned from my grandma’s kitchen. I love making these with my kids because they’re so forgiving and the ‘oohs’ and ‘aahs’ from friends and family are just priceless. They’re the ultimate crowd-pleaser for any holiday gathering.
Top Reasons To Make It
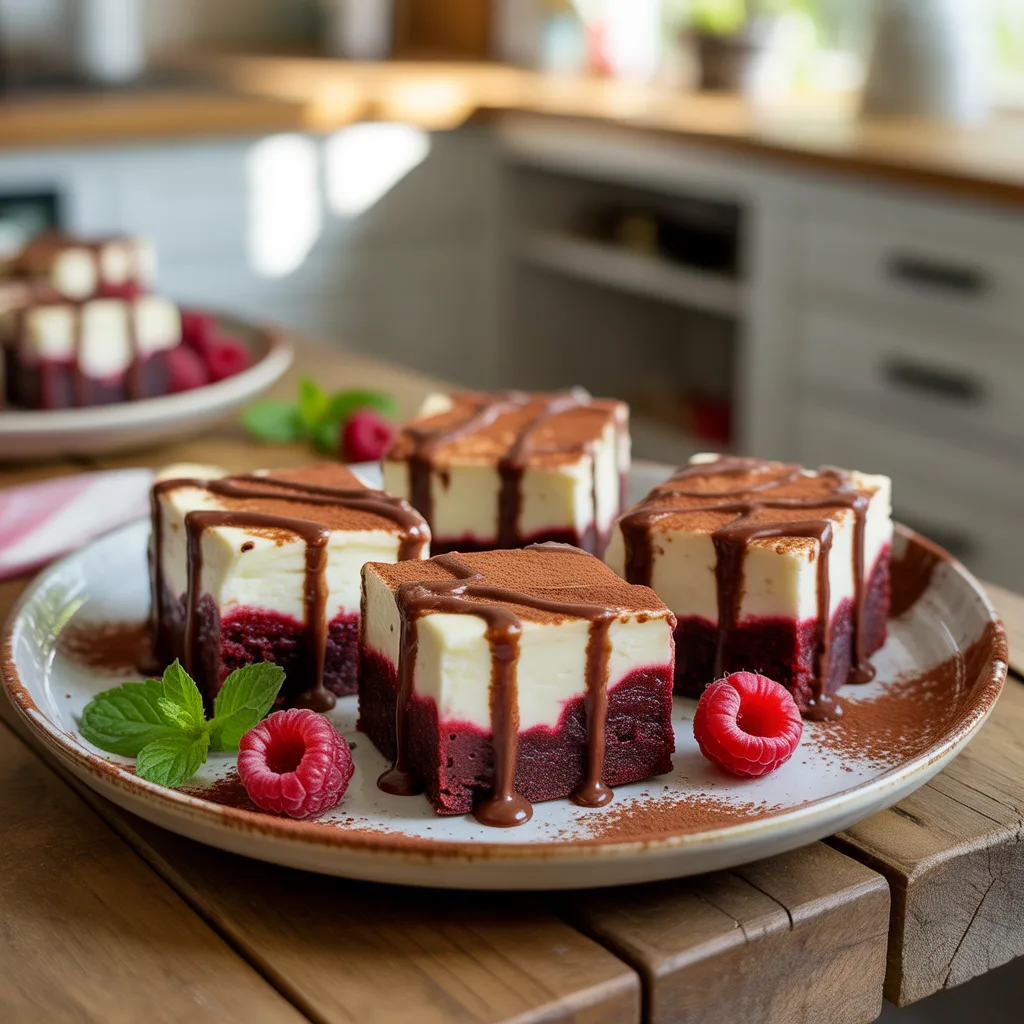
First, these brownie bites are a total showstopper. That beautiful red and white swirl just screams holidays. But beyond their looks, they’re incredibly easy. You don’t need any special equipment beyond a muffin pan and a couple of bowls. They’re also the perfect make-ahead dessert. You can bake them days before your party, freeing you up to focus on everything else. And maybe my favorite reason? They’re just so, so fun. Getting that perfect marbled top is a little kitchen magic that never gets old.
Ingredients
Making these bites is all about having your ingredients ready to go. Here’s what you’ll need:
- For the Red Velvet Brownie Layer:
- 1 box (about 15 oz) red velvet cake mix: This is our shortcut for that classic flavor and color.
- 1/2 cup unsalted butter, melted: It creates a rich, fudgy base.
- 1 large egg: To bind everything together beautifully.
- For the Cheesecake Swirl:
- 1 package (8 oz) cream cheese, softened to room temperature: This is key for a smooth, lump-free swirl.
- 1/3 cup granulated sugar: Just enough sweetness to balance the tang.
- 1 large egg: Gives the cheesecake layer structure.
- 1/2 teaspoon pure vanilla extract: For that warm, classic flavor.
Instructions
Let’s get these little bites of joy into the oven. Just follow these simple steps:
- Preheat your oven to 350°F (175°C). Generously grease a 24-cup mini muffin pan with non-stick spray or line it with mini muffin liners. This is your most important step to prevent sticking.
- Make the brownie base. In a medium bowl, combine the red velvet cake mix, melted butter, and one egg. Stir with a spatula until a thick, cohesive dough forms. It’ll be thick, almost like cookie dough—that’s perfect.
- Make the cheesecake swirl. In a separate bowl, beat the softened cream cheese with an electric mixer until it’s smooth and creamy. Beat in the sugar, then the egg and vanilla extract, until the mixture is silky.
- Assemble the bites. Scoop about one tablespoon of the red velvet dough into each prepared muffin cup. Press it down lightly to form a base. Then, top each one with about one tablespoon of the cheesecake mixture.
- Create the swirl. Use a toothpick or a skewer to gently swirl the cheesecake layer into the red velvet base. Don’t overmix—just a few zig-zags to create that beautiful marbled effect.
- Bake for 12-15 minutes. The edges of the red velvet should look set, and the cheesecake swirl will be just slightly jiggly in the very center. Let them cool in the pan for at least 10 minutes before carefully transferring them to a wire rack to cool completely.
Serving Ideas & Pairings
These bites are fantastic all on their own, but a little extra flair never hurts for the holidays. For a truly elegant touch, dust them with a little powdered sugar right before serving. They’re also wonderful with a dollop of lightly sweetened whipped cream or a small scoop of vanilla bean ice cream. If you’re putting together a dessert platter for a party, pair them with some simple Christmas desserts like peppermint bark or shortbread cookies. They balance out the richness beautifully. And a hot cup of coffee or a cold glass of milk? The perfect pairing.
Variations & Substitutions
Want to mix it up? You absolutely can.
- Gluten-Free: Use a gluten-free red velvet cake mix. The recipe works exactly the same.
- Dairy-Free: Swap the butter for a plant-based alternative and use your favorite dairy-free cream cheese. I’ve had great results with a few different brands.
- Flavor Twists: Add a teaspoon of instant espresso powder to the brownie batter to deepen the chocolate flavor. Or, for a festive twist, fold a handful of mini chocolate chips or crushed peppermint candies into the red velvet layer.
- Nutty Addition: A few finely chopped pecans sprinkled on top before baking add a wonderful crunch.
Storage & Reheating
These brownie bites store beautifully. Once completely cooled, store them in an airtight container in the refrigerator for up to 5 days. You can also freeze them for longer storage. Just place them in a single layer on a baking sheet to freeze solid, then transfer to a freezer bag. They’ll keep for up to 3 months. Thaw in the fridge overnight. I don’t recommend reheating them, as the cheesecake is best served chilled or at room temperature. So good.
Tips For Success
A few simple tricks will guarantee perfect results every time.
- Room temperature cream cheese is non-negotiable. It’s the only way to get a perfectly smooth cheesecake swirl without any lumps.
- Don’t over-swirl! A few gentle passes with a toothpick are all you need. If you mix too much, the layers will blend together and you’ll lose that pretty contrast.
- Grease that pan well. Honestly, this is the step I see people skip, and then they have a hard time getting the bites out. A good coating of non-stick spray is your best friend here.
- Let them cool in the pan. They’re very tender when they first come out of the oven. Giving them that 10-minute rest makes them much easier to remove.
- Get the kids involved! My three love helping with the swirling part. It’s a fantastic, easy way to make some holiday memories in the kitchen.
Frequently Asked Questions
- Can I make these in a regular muffin pan? You can! Just increase the baking time to about 18-22 minutes. You’ll get fewer, but larger, brownie bites.
- I don’t have a mixer. Can I make the cheesecake swirl by hand? Absolutely. Just make sure your cream cheese is very soft, and use a sturdy whisk and a little elbow grease. It might take a minute, but it will work.
- Are these considered one of those easy Christmas treats? Without a doubt. They use a simple cake mix base and come together in minutes, making them one of the easiest Christmas party desserts you can whip up.
- Can I make these ahead for holiday baking? Yes, they are perfect for getting a head start on your holiday treats. They keep wonderfully in the fridge or freezer, as mentioned above.


