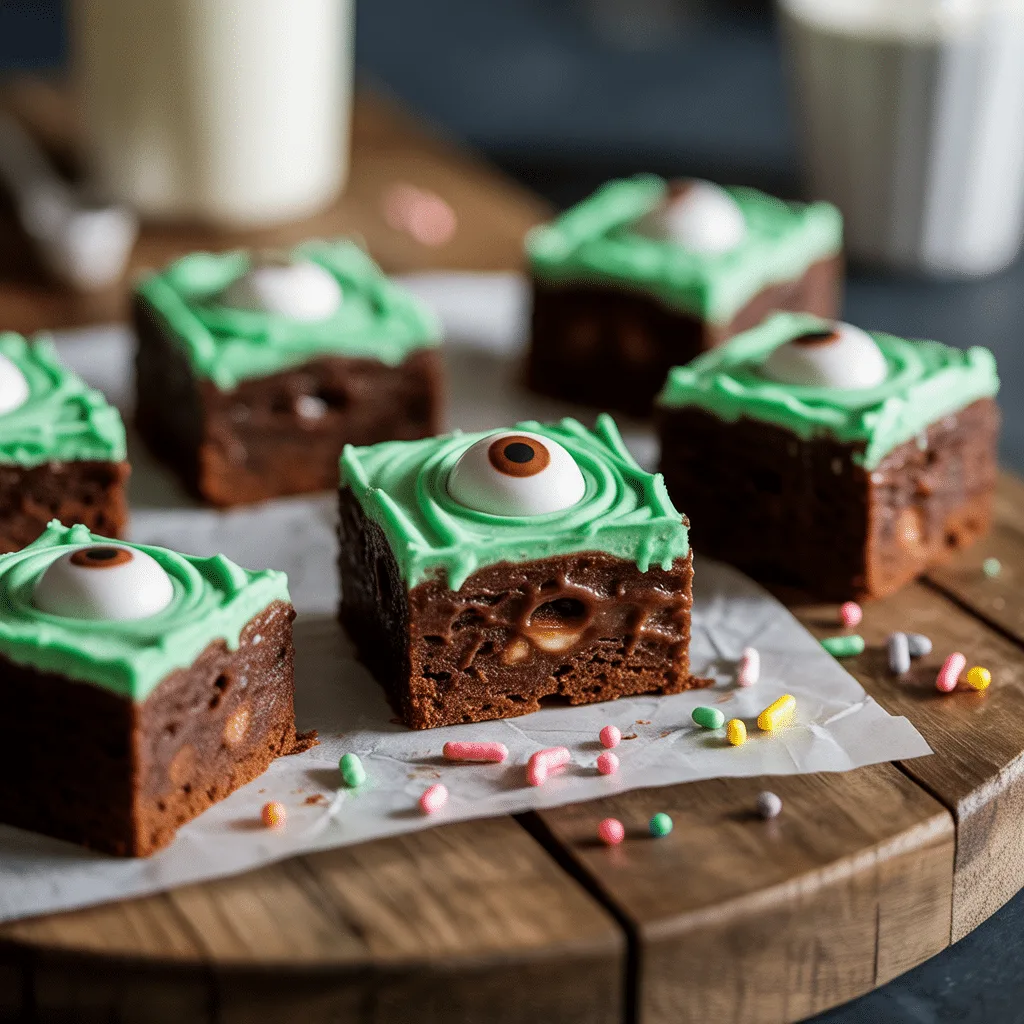
Is there anything more fun than turning a classic dessert into something spooky and spectacular for Halloween? These Monster Eye Brownie Bites are the perfect project for a cozy fall afternoon, whether you’re baking with little goblins or just getting into the spirit yourself. They combine the fudgy, rich chocolate we all crave with a playful, creepy twist that’s sure to be the talk of any party. So put on your favorite apron, and let’s make a treat that’s equal parts delicious and delightfully gruesome.
Why You’ll Love This
You’ll love these because they are so, so easy. Seriously. We’re starting with a simple from-scratch brownie batter (no box mix required!) that bakes up in a mini muffin tin for perfect portion control. The decorating part is where the real magic happens, and it’s practically foolproof. These bites are the ultimate make-ahead Halloween food recipe, freeing you up to enjoy your own party. They hit that sweet spot between being an impressive homemade treat and a project that won’t leave you with a mountain of dishes to clean. A total win.
Ingredients You’ll Need
- 1/2 cup unsalted butter, melted: For that rich, fudgy base.
- 1 cup granulated sugar: To sweeten the deal.
- 2 large eggs: They bind everything together beautifully.
- 1 teaspoon vanilla extract: A classic flavor enhancer.
- 1/2 cup all-purpose flour: The main structure of our brownies.
- 1/3 cup cocoa powder: Use good quality for the best chocolate flavor.
- 1/4 teaspoon baking powder: Lifts the brownies just enough.
- 1/4 teaspoon salt: Balances the sweetness.
- 1 cup white chocolate chips: Melted for our tasty “eyeball” coating.
- Green food coloring: For a creepy, monstrous iris.
- Candy eyeballs: The star of the show! Find these in the baking aisle.
- Red decorating gel: For adding those bloody veins.
Let’s Get Cooking Step by Step
- First, preheat your oven to 350°F (175°C) and generously grease a 24-cup mini muffin pan. This is a crucial step to make sure our little monster eyes pop right out after baking.
- In a medium bowl, whisk together the melted butter and sugar until they’re well combined. It might look a little gritty, and that’s perfectly okay. Next, beat in the eggs and vanilla extract until the mixture is smooth and slightly lighter in color.
- In a separate small bowl, whisk the flour, cocoa powder, baking powder, and salt. Gradually add these dry ingredients to your wet ingredients, stirring with a spatula until you have a thick, glossy batter. Don’t overmix!
- Using a small cookie scoop or a spoon, fill each prepared mini muffin cup about 2/3 of the way full. You should get roughly 24 bites.
- Bake for 10-12 minutes. You’ll know they’re done when the tops are set and a toothpick inserted into the center comes out with a few moist crumbs. Let them cool in the pan for 5 minutes before carefully transferring them to a wire rack to cool completely. Patience is key here—if they’re warm, the decoration will melt!
- Once the brownie bites are completely cool, melt the white chocolate chips in the microwave in 20-second intervals, stirring in between, until smooth. Stir in several drops of green food coloring until you achieve a ghastly shade you love.
- Dip the top of each cooled brownie bite into the green chocolate, letting the excess drip off. Place it back on the wire rack and immediately press a candy eyeball into the center of the chocolate. Use the red gel to draw squiggly “bloodshot” veins coming from the eyeball. Let the chocolate set completely before serving.
Spooky Presentation Ideas
Presentation is half the fun with Halloween themed food! Pile these Monster Eye Brownie Bites high on a black platter for a dramatic effect. You could even arrange them to look like a monster’s face. For a party, label them with a creepy sign like “Cyclops Snacks” or “Eyeball Appetizers.” If you’re serving them as part of a spooky dinner, place a few on each guest’s plate next to their main course for a fun and festive touch. They make for incredible Halloween finger foods that guests can just grab and go.
Variations & Substitutions
No candy eyeballs? No problem! You can use a small dollop of melted chocolate to place a chocolate chip or an M&M in the center of your green coating. For a nutty twist, try adding a few finely chopped pecans or walnuts to the brownie batter. If you need a gluten-free option, a 1-to-1 gluten-free flour blend works wonderfully in this recipe. Honestly, if you’re short on time, a high-quality boxed brownie mix can be used as the base—just bake it in the mini muffin tin according to the package directions for cupcakes.
Serving Ideas & Pairings
These bites are the perfect standalone treat for your Halloween party spread, but they also play well with others! They’re a fantastic addition to a dessert table next to Halloween candy like candy corn and chocolate bars. For a truly spooky snack spread, pair them with “witches’ fingers” (cheese straws or breadsticks with almond nails) and a bowl of “punch” with a frozen hand ice ring. They also make a great sweet ending to a hearty fall snacks menu that includes savory items like pumpkin soup or sausage balls.
Storage & Reheating
Store any leftover Monster Eye Brownie Bites in a single layer in an airtight container at room temperature for up to 3 days. If you need to stack them, place a layer of parchment paper between them to protect the decorations. I don’t recommend refrigerating them, as it can cause the brownies to dry out. For longer storage, you can freeze the undecorated, baked brownie bites for up to 2 months. Thaw at room temperature and then decorate with the chocolate and eyeballs just before serving.
Frequently Asked Questions
- Q: Can I make these Monster Eye Brownie Bites ahead of time?
A: Absolutely! You can bake the brownie bases up to two days in advance. Store them in an airtight container and then decorate them the day of your party for the freshest look. This is one of my favorite easy Halloween food prep tips. - Q: My candy eyeballs are sliding off. What did I do wrong?
A: This usually happens if the green chocolate coating wasn’t quite wet enough when you placed the eyeball, or if the brownie was still a bit warm. Make sure your brownies are completely cool and press the eyeball firmly into the wet chocolate so it adheres. - Q: Are there any other Halloween food ideas for parties that use this method?
A: For sure! You can use the same dipping and decorating technique on store-bought donut holes or Oreo cookies for a super quick alternative. It’s all about getting creative with your Halloween food ideas!