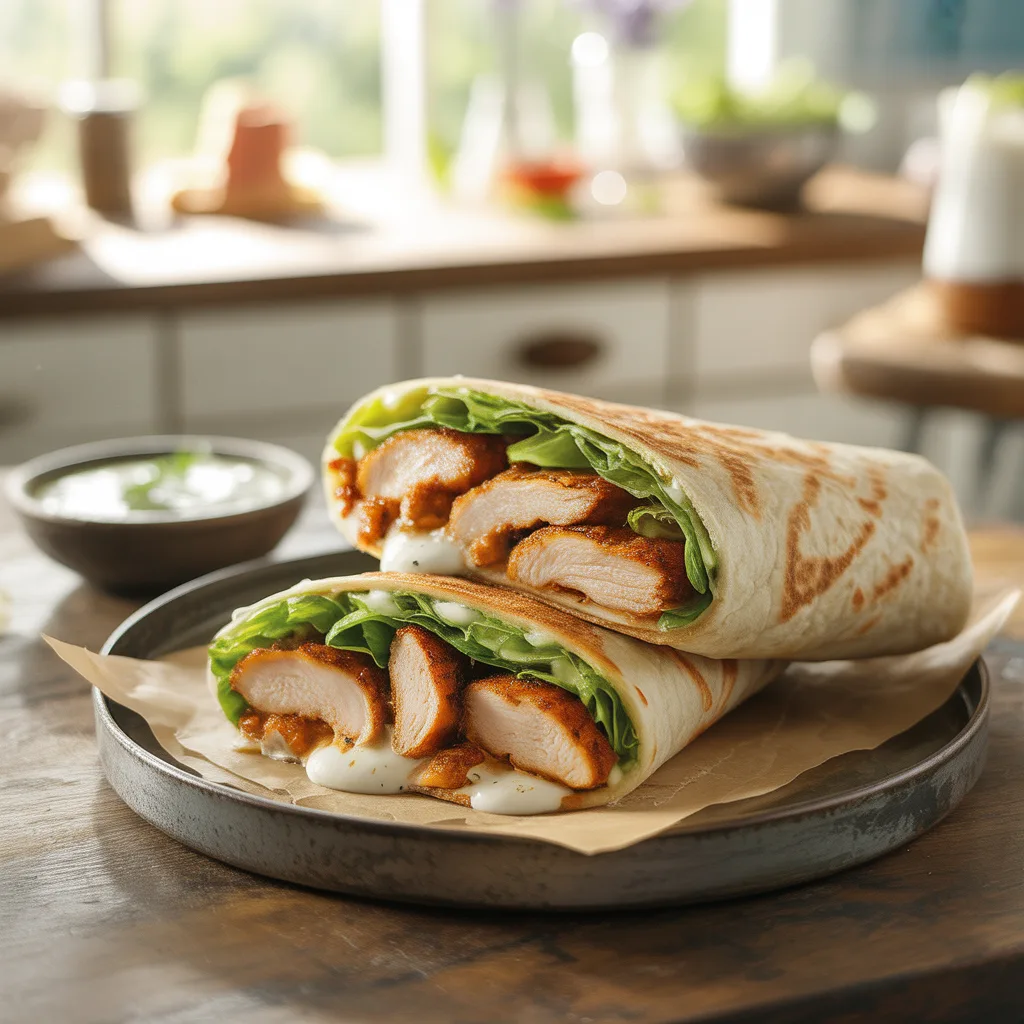
Is there anything better than a dinner that feels like a warm hug but doesn’t keep you tied to the stove for hours? I think not. That’s exactly what you get with these Crispy Garlic Chicken Wrap Melts. They’re the perfect solution for those nights when everyone is hungry, the clock is ticking, and you need something reliably delicious on the table, fast. Imagine tender chicken, a crazy-good crispy coating, and melty cheese, all wrapped up in a soft tortilla and toasted to golden perfection. Honestly, it’s the kind of lazy dinner that tastes anything but.
Why You’ll Love This
You’re going to adore this recipe because it checks every box for a busy cook. It’s incredibly quick to pull together, uses simple ingredients you probably have on hand, and it’s a guaranteed crowd-pleaser for the whole family. The outside gets wonderfully crispy while the inside stays juicy and packed with garlicky flavor. And the best part? It’s so versatile. You can customize the fillings to please even the pickiest eaters, making it one of the most adaptable and kid friendly dinners in your rotation. It’s the kind of cheap dinner for a family that feels special, not skimpy.
Ingredients You’ll Need
- 1 lb boneless, skinless chicken breasts, cut into small bite-sized pieces – for quick, even cooking.
- 1/2 cup all-purpose flour – creates the base for our crispy coating.
- 2 large eggs, lightly beaten – helps the breading stick perfectly.
- 1 cup panko breadcrumbs – the secret to an extra-crunchy texture.
- 1 cup grated Parmesan cheese – adds a salty, savory kick to the crust.
- 3-4 cloves garlic, minced – for that essential, aromatic flavor.
- 1 tsp paprika – gives a hint of warmth and beautiful color.
- Salt and black pepper to taste – to season every layer.
- 4 large flour tortillas (10-inch) – the perfect vessel for holding all the goodness.
- 1 cup shredded mozzarella cheese – for that epic, stretchy melt.
- 2 tbsp olive oil or avocado oil – for pan-toasting the wraps to golden brown.
- Optional for serving: ranch dressing, marinara sauce, or a simple side salad.
Let’s Get Cooking Step by Step
- First, set up your breading station. Get three shallow bowls. In the first one, place the flour. In the second, the beaten eggs. In the third, mix together the panko breadcrumbs, grated Parmesan, minced garlic, paprika, and a good pinch of salt and pepper.
- Take your bite-sized chicken pieces and dredge them first in the flour, shaking off any excess. Then, dip them into the egg, letting the extra drip off. Finally, press them firmly into the panko-Parmesan mixture until they’re fully coated. Place the coated chicken on a clean plate.
- Heat a large skillet over medium-high heat and add a tablespoon of oil. Working in batches to avoid crowding the pan, cook the chicken for about 3-4 minutes per side, until golden brown and cooked through. The internal temperature should reach 165°F. Transfer the cooked chicken to a paper towel-lined plate.
- Now, assemble the wraps! Lay a tortilla flat. On one half, sprinkle a little mozzarella, then top with a quarter of the crispy garlic chicken. Sprinkle a bit more cheese on top of the chicken (because more cheese is always a good idea).
- Fold the empty half of the tortilla over the filling, then fold in the sides, rolling it up tightly into a neat bundle.
- Wipe out the skillet and return it to medium heat. Add a little more oil. Carefully place the wrap melts, seam-side down, into the skillet. Cook for 2-3 minutes per side, pressing down gently with a spatula, until the tortilla is crisp and golden brown and the cheese is beautifully melted inside.
- Repeat with the remaining wraps. Let them rest for a minute before slicing in half diagonally. So good.
Pro Tips For Perfect Wrap Melts
- Don’t skip the pressing step when breading. Really press the panko mixture onto the chicken to ensure a solid, crispy crust that won’t fall off.
- Keep your cooked chicken warm by placing it in a 200°F oven while you finish the batches and assemble the wraps. This ensures everything is hot when it goes into the tortilla.
- Don’t overfill the wraps! It’s tempting, but too much filling will make them difficult to roll and seal, leading to potential spillage.
- For the crispiest results, make sure your skillet is properly preheated before toasting the assembled wraps.
- If a little cheese leaks out and sizzles in the pan, consider it a chef’s treat. It happens to the best of us!
Variations & Substitutions
This recipe is a fantastic canvas for your own ideas. For a veggie boost, add a handful of fresh spinach or some sautéed bell peppers and onions to the wrap before adding the chicken. If you’re looking for healthy dinner ideas, you can use whole-wheat or spinach tortillas and air-fry the wraps instead of pan-frying (about 8-10 minutes at 375°F, flipping halfway). Don’t have panko? Regular breadcrumbs work, though the crunch won’t be quite as epic. For a different flavor profile, swap the mozzarella for pepper jack or cheddar, and add a dash of taco seasoning to the breadcrumb mix. Honestly, my favorite lazy dinner twist is to mix a tablespoon of ranch dressing in with the chicken before assembling—it adds a creamy, herby touch that’s so, so good.
Serving Ideas & Pairings
These wrap melts are a complete meal all on their own, but they pair beautifully with simple sides. A crisp green salad is my go-to for balancing the richness. For kid friendly dinners, serve them with some carrot sticks, apple slices, or a small cup of tomato soup for dipping. They also make fantastic dinner dishes for a casual get-together when cut into smaller pinwheels and served as an appetizer. And if you’re craving something warm, a cup of creamy tomato basil soup is the ultimate comforting partner.
Storage & Reheating
Leftovers? Let the wrap melts cool completely, then store them in an airtight container in the refrigerator for up to 3 days. To reheat and bring back the crunch, the oven or air fryer is your best friend. Avoid the microwave, as it will make the tortilla soggy. Reheat in a 350°F oven for 10-15 minutes or an air fryer at 370°F for 5-7 minutes, until hot and crispy. I don’t recommend freezing the assembled and cooked wraps, as the tortilla can become soggy upon thawing. You can, however, freeze the cooked crispy chicken pieces for up to 2 months and assemble fresh wraps another night.
Frequently Asked Questions
- Can I make these ahead of time for easy dinner ideas? You can bread and cook the chicken ahead of time. Store it in the fridge, and then simply assemble and pan-toast the wraps when you’re ready to eat for a super speedy meal.
- What are some other quick dinner ideas using these components? That crispy garlic chicken is incredibly versatile! Toss it on top of a salad for a healthy dinner idea, pile it into a hoagie roll for a sandwich, or even serve it over rice with a veggie side.
- My family doesn’t like garlic. Can I change the flavor? Absolutely! Omit the garlic from the breading and try different seasonings like Italian seasoning, onion powder, or even a simple salt and pepper crust. It’s all about making it work for your crew.


