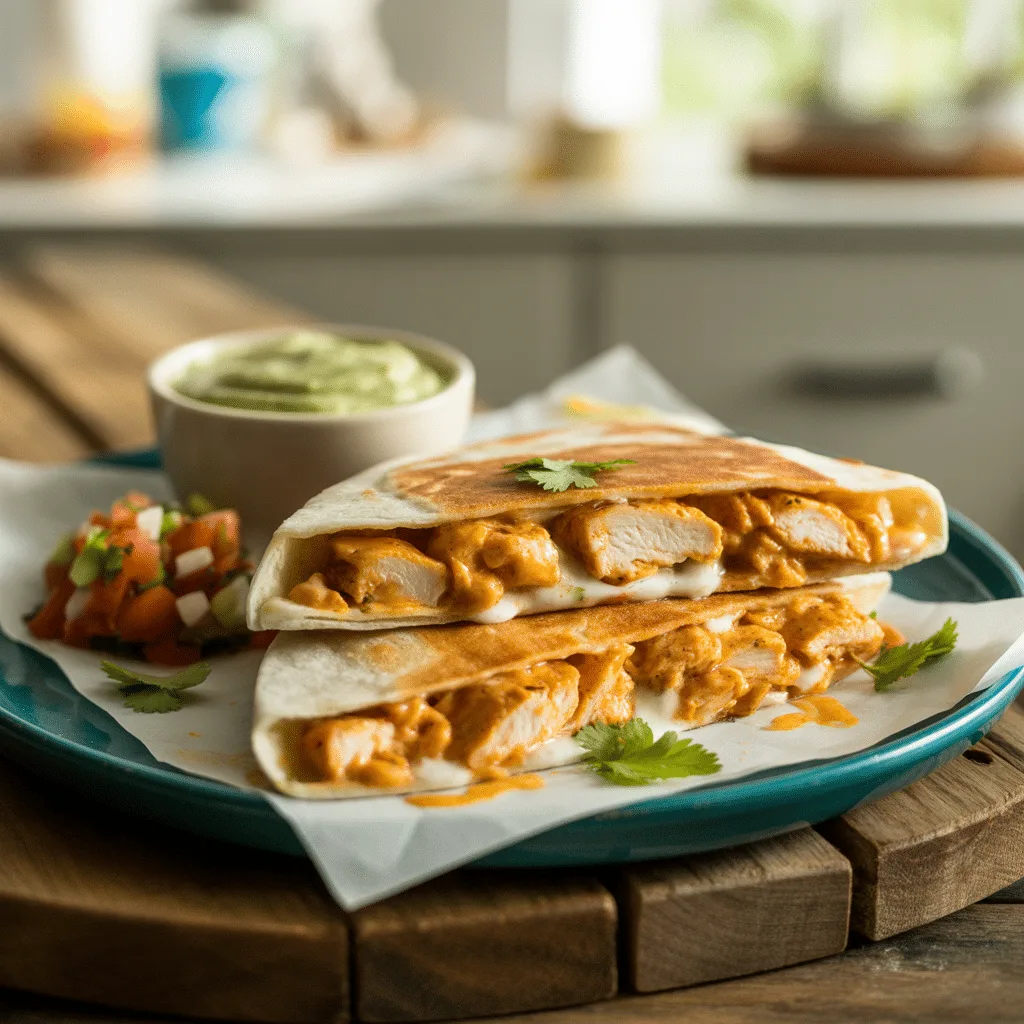
Ever have one of those nights where you need something delicious, fast, and guaranteed to please the whole table? You know the ones. That’s where these Crispy Chicken Quesadilla Melts come in. They’re the ultimate weeknight hero dish, combining all the gooey, cheesy, savory comfort we crave into one incredibly easy-to-make package. I’ve made a version of these for years—for a quick lunch for myself, after-school snacks for the kids, and as a no-fuss dinner that my family absolutely loves.
Top Reasons To Make It
- They come together in under 20 minutes, making them a perfect solution for busy evenings.
- Kids and adults adore them. They are a true crowd-pleaser.
- They use simple, affordable ingredients you probably already have on hand.
- You can easily customize the fillings to suit everyone’s tastes or use up leftovers.
- That crispy, golden-brown tortilla paired with the melty, savory filling is so, so satisfying.
Ingredients
- 2 cups shredded cooked chicken: Use a rotisserie chicken for ultimate ease.
- 4 large (10-inch) flour tortillas: The burrito-size ones work best.
- 1 1/2 cups shredded Monterey Jack cheese: Its fantastic meltiness is key.
- 1/2 cup shredded cheddar cheese: For a little extra sharp flavor.
- 1/2 cup black beans, rinsed and drained: Adds protein and fiber.
- 1/3 cup corn kernels: Fresh, canned, or frozen (thawed) all work.
- 1/4 cup finely diced red onion: For a bit of crunch and bite.
- 1 tsp ground cumin: Provides warm, earthy flavor.
- 1/2 tsp chili powder: Adds a gentle kick.
- 2 tbsp olive oil or butter: For brushing the tortillas to achieve that perfect crisp.
- Salt and black pepper to taste: To season the filling just right.
- Optional toppings: Sour cream, salsa, chopped cilantro, sliced avocado.
Instructions
- In a medium bowl, combine the shredded chicken, black beans, corn, red onion, cumin, chili powder, and a pinch of salt and pepper. Mix everything well.
- Stir in both kinds of shredded cheese until the filling is evenly combined.
- Lay one tortilla flat on a clean surface. Spoon half of the chicken mixture onto one half of the tortilla, then fold the other half over to create a half-moon shape. Repeat with the second tortilla and remaining filling.
- Heat a large skillet or griddle over medium heat. Brush the outside of one quesadilla lightly with olive oil or melted butter.
- Carefully place the quesadilla in the hot skillet. Cook for 3-4 minutes, until the bottom is golden brown and crispy.
- Brush the top of the quesadilla with a little more oil or butter, then carefully flip it over. Cook for another 3-4 minutes until the second side is golden brown and the cheese inside is fully melted.
- Remove the quesadilla from the skillet and let it rest for a minute before slicing it into wedges. This helps the filling set. Repeat the cooking process with the second quesadilla.
- Serve immediately with your favorite toppings like sour cream, salsa, or avocado.
Pro Tips For Crispy Quesadilla Melts
- Don’t overfill! It seems tempting, but too much filling will make it hard to flip and can lead to a messy break.
- Pre-shred your own cheese from a block if you can. It melts much smoother and creamier than the pre-shredded stuff coated in anti-caking agents.
- Pat your canned beans and corn dry with a paper towel. This removes excess moisture so your quesadillas get crispy instead of steam-softened.
- Press down lightly on the quesadilla with your spatula while it cooks. This helps create an amazing seal and ensures even browning.
- Let it rest for a minute after cooking before you cut into it. I know it’s hard to wait, but it keeps all that molten cheese right where it belongs.
Variations & Substitutions
- No Chicken? No problem. Use canned pinto beans or seasoned tofu crumbles for a plant-based version that’s just as hearty.
- Spice it up! Add a diced jalapeño to the filling or a dash of hot sauce for some extra heat.
- For a veggie-packed twist, stir in some sautéed spinach or bell peppers.
- Switch up the cheese. Pepper Jack, muenster, or a Mexican blend would all be delicious here.
- If you only have small tortillas, just make four smaller quesadillas instead of two large ones. The cooking time will be a minute or two less per side.
Serving Ideas & Pairings
These quesadilla melts are a full meal on their own, but they love company. I love serving them with a simple side salad with a lime vinaigrette to keep things feeling fresh. A big scoop of guacamole and some tortilla chips on the side is always a hit at my house. For a real fiesta vibe, pair them with some cilantro-lime rice or a quick corn and tomato salad. So good.
Storage & Reheating
Leftovers keep well! Let any leftover wedges cool completely, then store them in an airtight container in the refrigerator for up to 3 days. To reheat and keep them crispy, skip the microwave. Instead, warm them in a dry skillet over medium heat for a few minutes per side, or place them on a baking sheet in a 375°F oven for about 10 minutes. You can also freeze them for up to 2 months. Separate layers with parchment paper in a freezer bag. Reheat frozen quesadillas straight from the freezer in the oven until hot and crispy.
Frequently Asked Questions
- Can I make these ahead of time? You can mix the filling up to a day in advance and keep it covered in the fridge. Assemble and cook just before serving for the crispiest results.
- What’s the best way to shred chicken? If you don’t have a rotisserie chicken, simply poach 2 chicken breasts in broth or water until cooked through (about 15-20 minutes). Let them cool slightly, then shred with two forks.
- Are these healthy dinner ideas? Absolutely! By loading them with lean protein and fiber-rich beans and corn, you’ve got a balanced meal. Using whole wheat tortillas is an easy upgrade, too.
- My quesadilla always breaks when I flip it. Any advice? Make sure your skillet is nicely preheated and you’re using a wide, sturdy spatula. And really, that gentle press while cooking helps glue everything together.