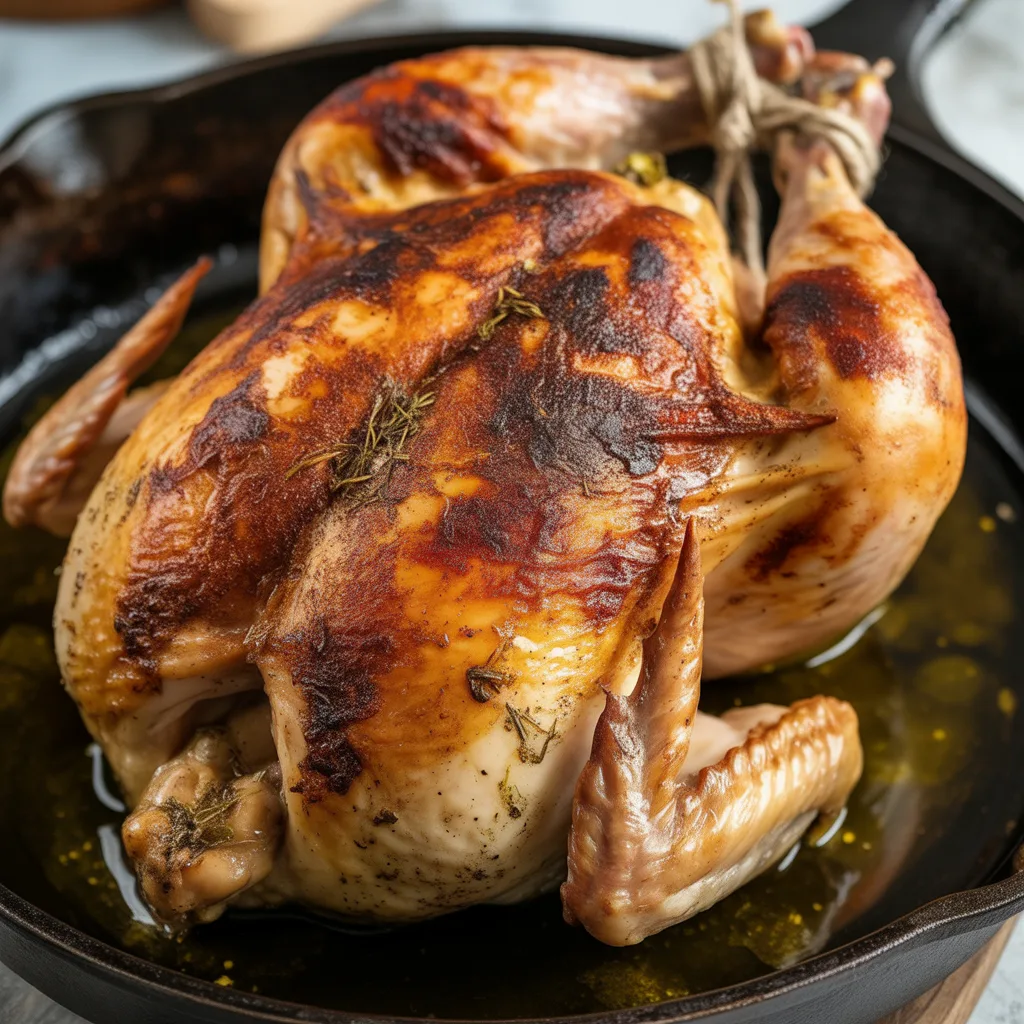
There’s something so deeply comforting about walking into a house that smells like a rotisserie chicken, isn’t there? That savory, herby aroma just makes you feel like everything’s going to be okay. But who wants to run to the store for one? I’m going to show you how to create that incredible Rotisserie-Style Baked Whole Chicken right in your own oven, with minimal fuss and maximum flavor. This is the kind of hands-off, reliable recipe that makes busy weeknights feel a whole lot easier.
Top Reasons To Make It
First, the flavor is just spot-on. We’re aiming for that classic, savory, slightly smoky taste you love from the store. Second, it’s incredibly forgiving. Even if your week is chaotic, this chicken turns out juicy and delicious. And let’s talk cost. Making it yourself is so much cheaper than buying one pre-made. Honestly, it’s one of my go-to cheap dinners that never feels like a compromise. It’s a true one pot meal that gives you a beautiful main course and leaves you with options for the rest of the week.
Ingredients
- 1 whole chicken (4-5 lbs): The star of our show.
- 2 tbsp olive oil: Helps the seasoning stick and promotes gorgeous browning.
- 1 tbsp smoked paprika: The secret to that “rotisserie” color and smoky flavor.
- 2 tsp garlic powder: For that essential savory backbone.
- 2 tsp onion powder: Adds a subtle sweetness and depth.
- 1 tsp dried thyme: Brings in an earthy, aromatic note.
- 1 tsp dried oregano: A classic Mediterranean herb that pairs perfectly.
- 1 ½ tsp salt: Crucial for seasoning the bird all the way through.
- ½ tsp black pepper: Just a little kick to balance everything out.
Instructions
- Preheat your oven to 375°F (190°C). Take the chicken out of its packaging and pat the entire surface completely dry with paper towels. This is the first step to getting that crispy skin we all crave.
- In a small bowl, mix together the olive oil, smoked paprika, garlic powder, onion powder, thyme, oregano, salt, and pepper until it forms a loose paste.
- Place the chicken in a roasting pan or large oven-safe skillet. Use your hands to rub the seasoning mixture all over the outside of the chicken, making sure to get it into every nook and cranny. Don’t forget to gently loosen the skin over the breast and rub a little bit of the seasoning underneath. So good.
- Truss the chicken by tying the legs together with kitchen twine. This isn’t absolutely mandatory, but it helps the chicken cook evenly.
- Place the chicken in the preheated oven and roast for about 1 hour and 15 minutes, or until the internal temperature in the thickest part of the thigh reads 165°F and the juices run clear.
- Once it’s perfectly cooked, remove the chicken from the oven and let it rest on a cutting board for at least 10-15 minutes before you carve it. This lets the juices redistribute, making every single bite so, so tender.
Tips For Success
- Dry that bird! Moisture is the enemy of crispy skin. Patting it dry is non-negotiable 20-30 minutes before you pop it in the oven. This helps it cook more evenly.
- If you have time, season the chicken the night before and let it hang out in the fridge uncovered. The skin will dry out even more, leading to an even crispier result.
- Invest in an instant-read thermometer. It takes all the guesswork out of cooking and ensures your chicken is safe to eat without being dry.
- Don’t skip the rest! I know it’s tempting to dig right in, but letting it rest is what gives you that juicy meat.
- Get the kids involved with the rubbing step. It’s a little messy and a whole lot of fun.
Serving Ideas & Pairings
This chicken is the ultimate centerpiece for easy family dinners. I love to keep it simple and serve it with classic sides. Think creamy mashed potatoes or a quick rice pilaf to soak up all those amazing juices. A simple green salad or some roasted carrots and broccoli round out the meal perfectly. And if you’re looking for fast dinner recipes, shred the leftover meat and use it throughout the week on salads, in quesadillas, or mixed into a comforting soup.
Variations & Substitutions
Don’t have smoked paprika? Regular paprika will work, though you’ll lose a bit of the smoky depth. A tiny pinch of cumin can help mimic that flavor. For a lemon-herb twist, add the zest of one lemon to your spice rub and pop a halved lemon inside the cavity before baking. If you’re out of fresh whole chicken, you can use the same seasoning blend on chicken breasts or thighs for quicker chicken breast recipes. Just adjust the cooking time accordingly.
Storage & Reheating
Let the chicken cool completely before storing. You can keep the carved meat in an airtight container in the fridge for 3-4 days. For longer storage, it freezes beautifully for up to 3 months. To reheat, I strongly recommend avoiding the microwave if you can. It tends to make the meat rubbery. Instead, warm it gently in a 325°F oven until heated through, or even in a skillet with a tiny splash of chicken broth to keep it moist.
Frequently Asked Questions
- Can I make this with just chicken parts? Absolutely! This spice rub is fantastic on a whole chicken, but it works just as well for a package of thighs or drumsticks. You’ll just need to reduce the cooking time to about 40-45 minutes.
- My skin isn’t getting crispy. What did I do wrong?</strong425°F for the last 5-10 minutes of cooking to really crisp it up (just keep a close eye on it so it doesn’t burn).
- Is this one of those easy crockpot dinners? You could adapt it for the slow cooker, to go for that authentic rotisserie-style result.
- What’s the best way to carve the chicken? First, remove the twine. Then, use a sharp knife to remove the legs and wings by cutting through the joint. Slice down between the breast and thigh, then carefully slice the breast meat off the bone. It’s easier than it looks, I promise!
This Rotisserie-Style Baked Whole Chicken is the kind of humble, spectacular dish that turns an ordinary Tuesday into something special. It proves that with a few simple ingredients and a little patience, you can create pure comfort food magic right on your dinner table.
