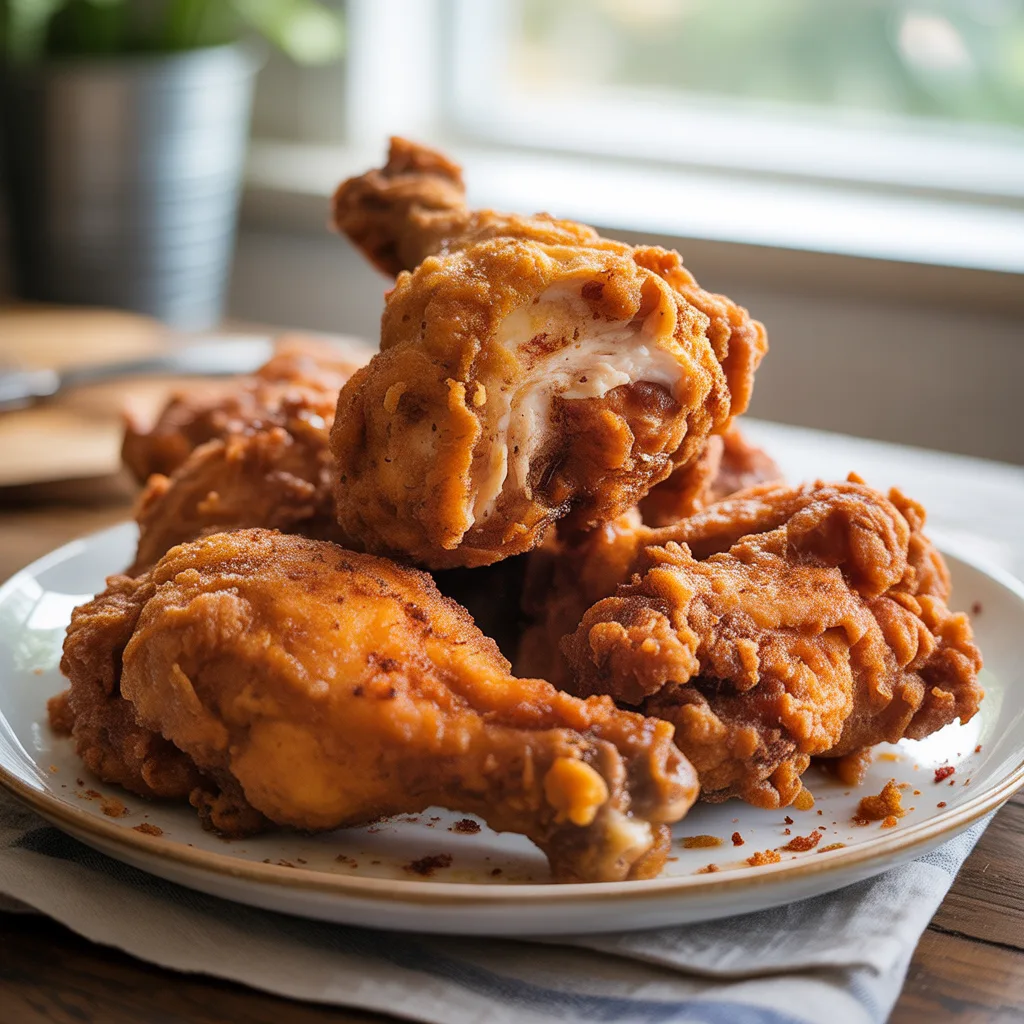
Is there anything more satisfying than a perfectly golden piece of fried chicken? You know the kind—juicy and flavorful on the inside with a crisp, shatteringly good crust on the outside. It’s the taste of Sunday supper, summer picnics’t just possible; it’s an incredibly rewarding experience. Forget the drive-thru; let’s create some real magic in your kitchen tonight.
Top Reasons To Make It
So why bother making it from scratch? For starters, the flavor is just leagues beyond anything you can get in a box. You control the seasoning, ensuring every bite is packed with exactly what you love. It’s also a surprisingly affordable way to feed a crowd, making it perfect for easy family dinners. Plus, once you get the method down, it becomes one of those fast dinner recipes you can whip up with confidence. Honestly, the pride you’ll feel pulling that beautiful chicken out of the oil is worth the effort alone.
Ingredients
- 1 whole chicken (3-4 lbs), cut into 10 pieces, or 4 lbs of your preferred parts (skin-on for the best crunch)
- 2 cups buttermilk (tenderizes the chicken beautifully)
- 2 tbsp hot sauce (adds a subtle, tangy kick)
- 3 cups all-purpose flour (forms the base of the crispy coating)
- 2 tbsp cornstarch (for an extra-crispy, lightweight crust)
- 1 tbsp garlic powder
- 1 tbsp onion powder
- 2 tsp paprika (adds color and a smoky sweetness)
- 1 tsp cayenne pepper (optional, for a bit of heat)
- 2 tsp salt
- 1 tsp black pepper
- Neutral oil for frying,
Instructions
- In a large bowl, whiskre all submerged. Cover and refrigerate for at least 4 hours, or ideally overnight. This marinating step is non-negotiable for the most tender, flavorful chicken.
- When you’re ready to cook, in another large bowl, combine the flour, cornstarch, garlic powder, onion powder, paprika, cayenne, salt, and black pepper. Whisk it all together.
- Remove a piece of chicken from the buttermilk, letting the excess drip off. Dredge it thoroughly in the flour mixture, pressing firmly to make sure the coating adheres. Place the breaded piece on a wire rack set over a baking sheet. Repeat with all the chicken pieces. Let them rest for 15-20 minutes while you heat the oil. This helps the coating set so it doesn’t slide off in the fryer.
- Pour oil into a large, heavy-bottomed pot (like a Dutch oven) until it’s about 2 inches deep. Heat over medium-high heat until it reaches 350°F. Use a deep-fry or candy thermometer to monitor the temperature—this is key!
- Working in batches to avoid crowding the pot, carefully add a few pieces of chicken to the hot oil. Fry for about 12-18 minutes, turning occasionally, until the crust is deep golden brown and an internal thermometer reads 165°F. The timing will vary for dark and white meat.
- Transfer the finished chicken to a clean wire rack set over a baking sheet. This keeps it crispy on all sides. Let it rest for a few minutes before serving. So good.
Variations & Substitutions
Don’t have buttermilk? Make a quick substitute by adding 1 tablespoon of lemon juice or vinegar to every cup of regular milk and letting it sit for 5 minutes. For a gluten-free version, swap the all-purpose flour for your favorite 1:1 gluten-free flour blend. If you’re looking for a different flavor profile, try adding a teaspoon of smoked paprika or dried thyme to the flour mixture. You can even use this same method for boneless, skinless chicken breasts or thighs; just reduce the frying time to 6-8 minutes.
Tips For Success
- Temperature is everything. Keep that oil between 325°F and 350°F. If it’s too cool, the chicken will be greasy; too hot, and the outside will burn before the inside cooks.
- Let your coated chicken rest before frying. It seems like a small step, but it makes a huge difference in creating a crust that stays on.
- Don’t overcrowd the pot! Adding too much chicken at once will cause the oil temperature to plummet.
- Use a wire rack instead of paper towels. This prevents the bottom of your beautifully crispy chicken from getting soggy from steam.
- Trust a thermometer. A meat thermometer takes the guesswork out of knowing when your chicken is perfectly cooked and safe to eat.
- Have fun with it! This isn’t fussy fine dining. It’s joyful, satisfying comfort food.
Serving Ideas & Pairings
This glorious chicken is the star of the show, so keep your sides simple. It’s fantastic with classic Southern sides like creamy coleslaw, creamy mashed potatoes with gravy, or simple steamed green beans. For a lighter option, a tangy cucumber and tomato salad cuts through the richness beautifully. And if you’re aiming for a true feast, some fluffy buttermilk biscuits are an absolute must. It’s the ultimate easy family dinner.
Storage & Reheating
Leftovers? Let the chicken cool completely, then store it in an airtight container in the refrigerator for up to 4 days. To freeze, wrap each piece individually in foil and place them in a freezer bag for up to 3 months. Thaw in the fridge overnight before reheating. The best way to reheat fried chicken and keep it crispy is in the oven. Preheat your oven to 375°F and place the chicken on a wire rack set over a baking sheet. Bake for 15-20 minutes, until heated through and crispy. Avoid the microwave, as it will make the coating soft.
Frequently Asked Questions
- Can I make this an easy crockpot dinner? While you can’t fry in a crockpot, you can make a deliciously tender braised chicken. Brown the chicken first, then place it in the crockpot with a cup of chicken broth and cook on low for 6 hours. The texture will be different but still delicious.
- What are some other quick and easy dinner recipes for chicken breasts? This same breading and frying technique works wonders on thinner, pounded chicken breasts for a super fast cutlet. You can also bake them with a simple glaze for a hands-off meal.
- Can I use this method for other cheap dinners? Absolutely! This flour and spice blend is fantastic for frying other proteins like catfish or green tomatoes. It’s a versatile base for many southern-inspired meals.
