Ever find yourself needing a show-stopping dessert for Thanksgiving but your oven is already completely monopolized by the turkey, the pies, and the casseroles? I’ve been there more times than I can count, and that’s exactly why these No-Bake Maple Pecan Truffles are my secret weapon. They’re the perfect little bite of comfort and celebration, requiring zero oven time and just a handful of simple ingredients. They embody that cozy, sweet, and nutty flavor of the season without any of the stress. Seriously, what’s not to love?
Why You’ll Love This
Beyond the obvious perk of not heating up your kitchen on a already busy cooking day, these truffles are just so, so delicious. The combination of rich, toasty pecans and warm, autumnal maple syrup is a classic for a reason. They feel incredibly fancy and special, but the process of making them is anything but complicated. You can whip these up with the kids, make them days ahead of time, and still have everyone raving. They’re the ultimate busy hostess hack for pulling together easy Thanksgiving desserts.
Ingredients You’ll Need
- 2 cups pecans: The star of the show, providing that nutty, buttery crunch and base for our truffles.
- 1 cup soft Medjool dates, pitted: Our natural sweetener and binder that holds everything together beautifully.
- 1/4 cup pure maple syrup: Adds that deep, unmistakable fall flavor and a touch of sweetness.
- 1 teaspoon vanilla extract: A classic flavor enhancer that makes the maple and pecan notes pop.
- 1/4 teaspoon sea salt: Crucial for balancing all the sweetness and making the flavors sing.
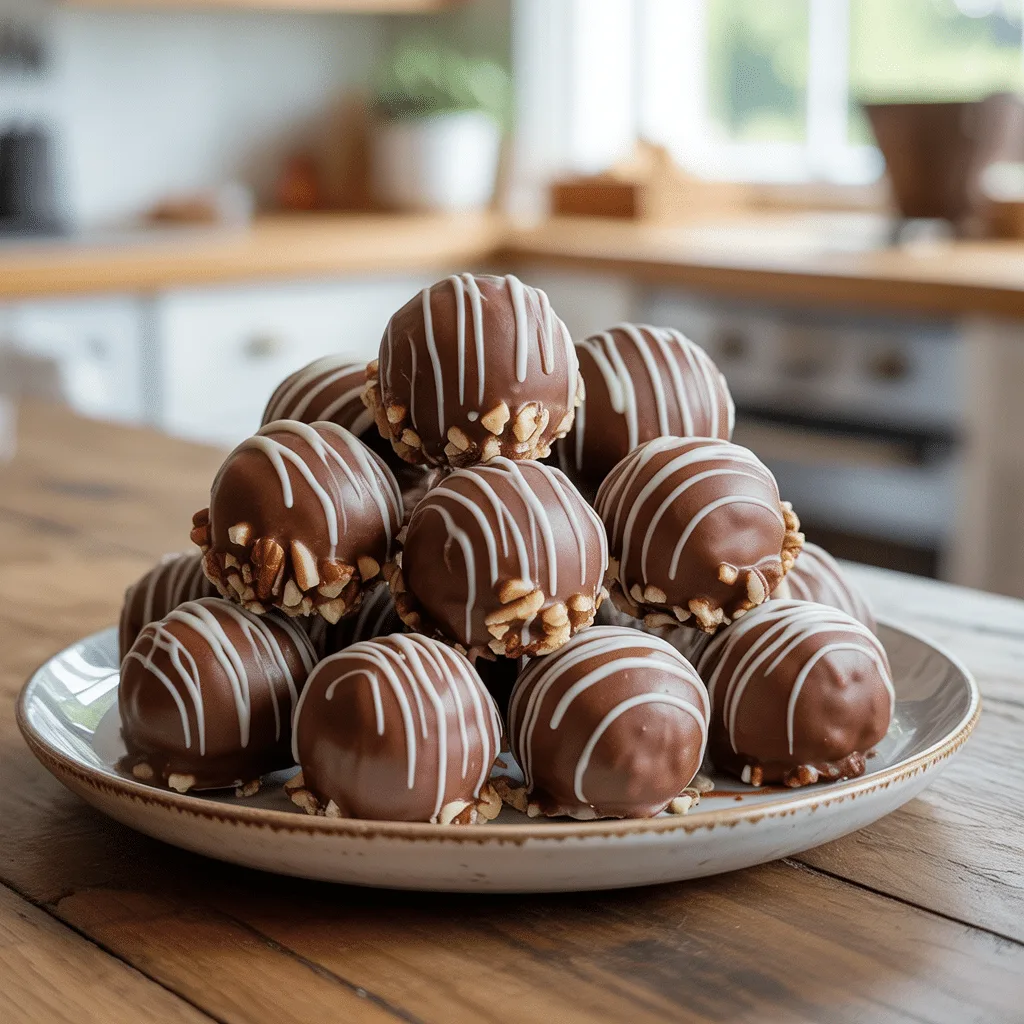
- 1/2 cup toasted pecans, very finely chopped: For rolling and giving the truffles a beautiful, festive finish.
Let’s Get Cooking Step by Step
- First, toast your main 2 cups of pecans to wake up their flavor. Spread them on a baking sheet and pop them in a 350°F oven for 6-8 minutes, just until they’re fragrant. Keep a close eye on them—nuts go from perfectly toasted to sadly burnt in a flash. Let them cool completely.
- In the bowl of your food processor, combine the cooled toasted pecans, pitted dates, maple syrup, vanilla extract, and sea salt.
- Pulse the mixture until it starts to break down, then let the processor run for a good minute or two. You’re looking for a texture that’s finely ground and starts to clump together around the blade. When you pinch a bit between your fingers, it should hold its shape.
- Time to get your hands a little dirty! Scoop out about a tablespoon of the mixture and roll it firmly between your palms into a tight, smooth ball. If the mixture feels too dry and isn’t sticking, add a tiny drizzle more of maple syrup. If it’s too sticky, a minute in the fridge will firm it up.
- Place your finely chopped toasted pecans in a shallow bowl. Roll each ball in the nuts, pressing gently to make sure they adhere. That’s it! You’ve made truffles.
Variations & Substitutions
This recipe is wonderfully adaptable. For a gluten-free option, just ensure your ingredients are certified gluten-free, though they naturally should be. Not a pecan person? Walnuts make a fantastic substitute and give a slightly different, but equally delicious, earthy flavor. If you want to play with the flavor profile, a half teaspoon of cinnamon or a pinch of nutmeg would be a lovely warm addition to the food processor. And if you’re out of dates, you can try using dried figs, though the texture and sweetness will be a tad different.
Serving Ideas & Pairings
I love serving these on a beautiful platter as part of a dessert spread, nestled amongst other Thanksgiving dessert ideas like pumpkin pie and apple crisp. They’re also a fantastic standalone treat with a cup of coffee after the big meal. For a fun Thanksgiving appetizer twist, try making them even smaller, almost bite-size, and serve them alongside a cheese board—the sweet and salty combo is incredible. They pair beautifully with a hot mug of spiced cider or a dark roast coffee.
Storage & Reheating
These truffles are make-ahead dreams. Store them in a single layer in an airtight container in the refrigerator, where they’ll stay perfectly fresh for up to two weeks. You can also freeze them for up to three months; just thaw in the fridge overnight before serving. No reheating is needed! They are best enjoyed cold straight from the fridge or at room temperature after about a 15-minute rest on the counter.
Doneness Test
Since we’re not baking, “doneness” is all about texture. The mixture is ready when it holds together firmly when pressed. If your truffles feel a bit crumbly when you try to roll them, the mixture just needs a bit more processing time or a tiny bit more maple syrup to help it bind. You’re looking for a pliable, slightly sticky dough that easily forms a ball.
Frequently Asked Questions
- Can I make these without a food processor? Honestly, a food processor is key here for getting the right fine, crumbly texture that binds together. A high-powered blender could work in a pinch, but you’ll likely need to stop and scrape down the sides frequently to avoid leaving big chunks of nuts.
- My mixture is too sticky to roll. What should I do? No worries! This happens. Just pop the whole mixture bowl into the refrigerator for 20-30 minutes. The slight chill will firm up the fats from the nuts and make the dough much easier to handle.
- Are these truffles a good Thanksgiving dessert for kids to help make? Absolutely. This is one of the best Thanksgiving desserts easy enough for little hands. They’ll love scooping, rolling, and coating the balls. It’s a fantastic way to get them involved in the holiday cooking.
