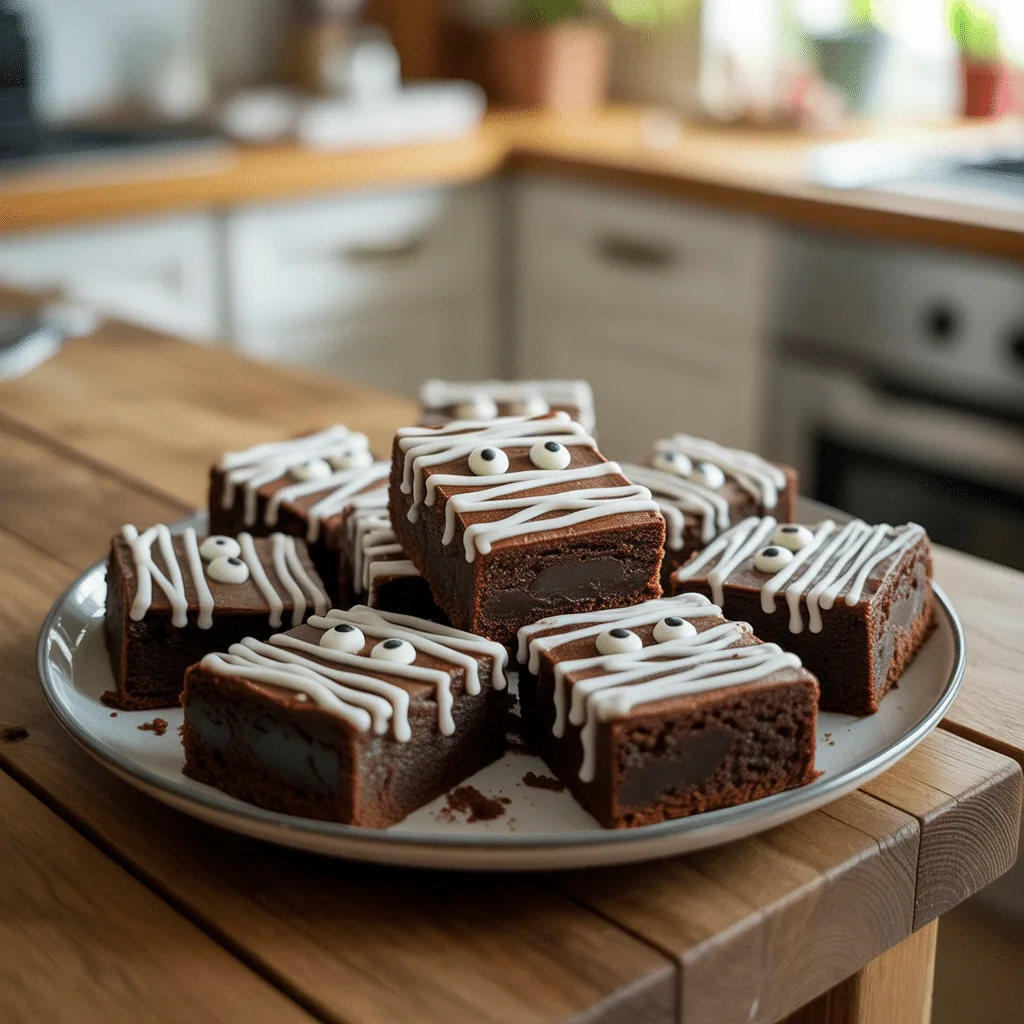
Is there anything better than whipping up a batch of brownies? Now imagine making them the star of your Halloween spread. These Spooky Mummy Brownies with Candy Eyes are the perfect way to add a dose of playful fright to your festivities. They’re chocolaty, a little goofy, and guaranteed to be a hit with both kids and adults. Honestly, they’re so easy that you might just find yourself making them year-round.
Why You’ll Love This
You’re going to adore this recipe because it checks every box. It starts with a simple, foolproof brownie base—rich, fudgy, and so, so chocolaty. Then comes the fun part: wrapping them up like little mummies with a simple drizzle of white icing. It’s a project that feels creative without requiring any fancy pastry skills. Plus, it’s a fantastic way to get the whole family involved in the kitchen. Laughs guaranteed.
Ingredients You’ll Need
- 1 box (around 18 oz) of your favorite fudge brownie mix (plus the oil, water, and eggs it calls for) – for that rich, no-fuss base.
- 1 cup of white vanilla frosting (store-bought is perfectly fine!) – to create the mummy’s iconic “bandages.”
- 1-2 tbsp milk or heavy cream – to thin the frosting for easy drizzling.
- About 20-24 candy eyeballs – for the perfect spooky-peekaboo effect.
Let’s Get Cooking Step by Step
- First, preheat your oven according to the directions on your brownie mix box. Grease or line an 8×8 or 9×9 inch baking pan with parchment paper, leaving a little overhang for easy removal later.
- In a large bowl, prepare the brownie batter exactly as the package instructs. Give it a good stir until everything is just combined and no dry streaks remain. Pour the batter into your prepared pan, spreading it into an even layer.
- Bake according to the package directions. You’ll know they’re done when the edges are set and a toothpick inserted into the center comes out with a few moist crumbs (but not wet batter). This usually takes about 25-35 minutes.
- Let the brownies cool completely in the pan set on a wire rack. Rushing this step is the number one cause of icing meltdowns—so patience is key here!
- Once cool, use the parchment paper to lift the entire brownie slab out of the pan. Place it on a cutting board and slice into rectangles, about 2×3 inches each.
- Now, for the magic! Spoon your vanilla frosting into a small bowl. Add the milk, one tablespoon at a time, and stir until it’s smooth and has a drizzling consistency. You want it to be fluid but not runny.
- Transfer the thinned frosting to a zip-top bag and snip a very small corner off, or use a piping bag with a small round tip. Drizzle the frosting back and forth over each brownie to look like wrapped mummy bandages, leaving a small gap near the top for the eyes.
- While the icing is still wet, gently press two candy eyeballs into that gap on each brownie. Let the icing set for about 15 minutes before serving. And that’s it!
Creative Spooky Mummy Brownie Ideas
Don’t be afraid to get creative with your mummy crew! For a bloodshot effect, add a tiny drop of red frosting gel near the eyes. You could also use black writing gel to draw a little stitched mouth underneath. If you’re making these for a party, consider cutting some brownies into larger squares for adult-sized portions and smaller ones for the kids. So fun.
Serving Suggestions for Halloween Parties
These mummies are the ultimate Halloween finger foods. Arrange them on a platter as the centerpiece of your dessert table. They pair wonderfully with other spooky snacks like dirt cake cups (gummy worms are a must) and ghostly white chocolate-dipped strawberries. For a full spooky dinner, serve them after a main course of mummy dogs or monster mash shepherd’s pie.
Variations & Substitutions
- Gluten-Free: Use a certified gluten-free brownie mix. Most store-bought frostings are naturally GF, but always double-check the label.
- Dairy-Free: Use a dairy-free brownie mix (like Duncan Hines) and thin your frosting with a dairy-free milk alternative like oat or almond milk.
- From Scratch: If you have a little extra time, use your favorite homemade brownie recipe and a simple buttercream frosting. You’ll just need powdered sugar, softened plant-based butter or margarine, vanilla, and a splash of milk.
- Flavor Twist: Add a teaspoon of instant espresso powder to your brownie batter to deepen the chocolate flavor, or a dash of peppermint extract to the frosting for a cool kick.
Storage & Reheating
Store any leftover Spooky Mummy Brownies in an airtight container at room temperature for up to 3 days. The frosting might soften a bit, but they’ll still taste delicious. I don’t recommend refrigerating them, as it can dry out the brownies. They are not ideal for freezing once decorated, as the icing and candy eyes can get damaged.
Frequently Asked Questions
- Q: Can I make these Spooky Mummy Brownies ahead of time?
A: Absolutely! You can bake and slice the brownies a day in advance. Store them airtight, then decorate them with the icing and candy eyes on the day of your party for the freshest look. - Q: My frosting is too runny! How can I fix it?
A: No worries—this happens to the best of us. Just stir in a little more powdered sugar, a tablespoon at a time, until it thickens back up to a good drizzling consistency. - Q: Where can I find candy eyeballs?
A: You’ll typically find them in the baking aisle of most major grocery stores or craft stores during the Halloween season. Online retailers like Amazon also carry them year-round. - Q: Are there any other easy Halloween food ideas that use these candy eyes?
A: Of course! Those candy eyes are versatile. Stick them on deviled eggs to make monster eyes, press them into cheese balls to make a spooky spider, or use them on iced sugar cookies. They instantly make any snack Halloween-themed.
